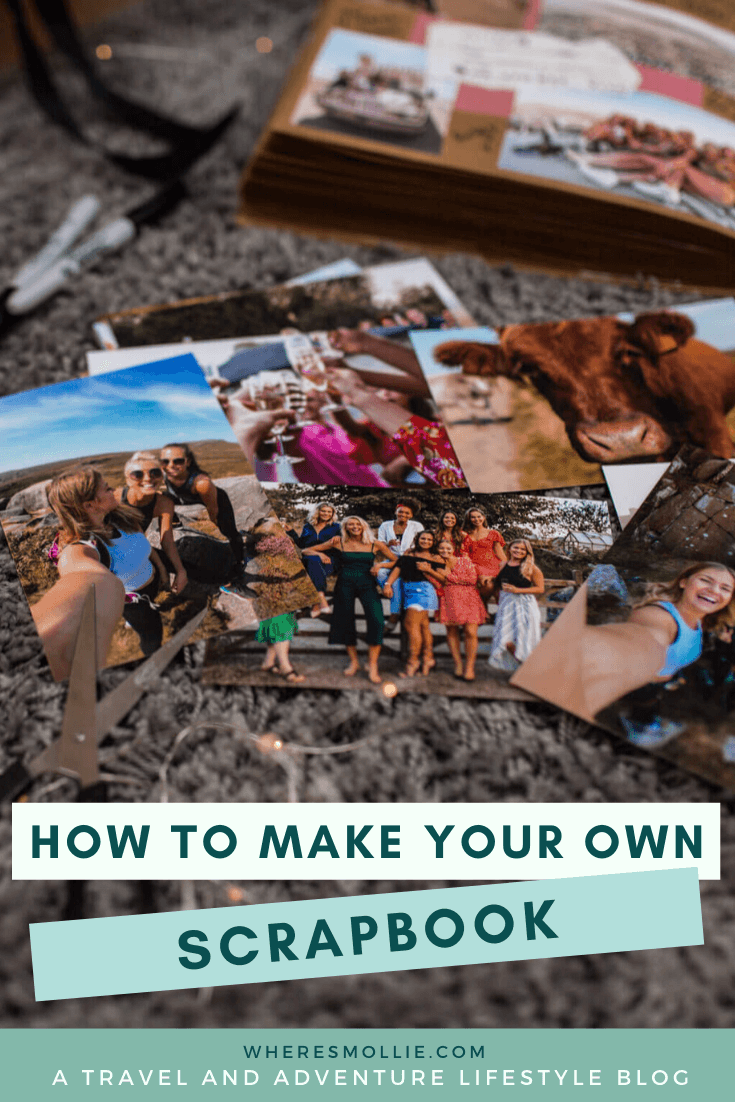
How to make your own scrapbook
So you want to make your very own scrapbook? Well, good news. You’ve come to the right place. In this blog post I will take you through how I organise my photos, print off my photos and make my own scrapbooks from scratch.
Why should you make a scrapbook album?
You spend your life saving for holidays, travel, experiences and adventures with your friends because, it’s the little moments that mean the most, right? Half the fun is in the countdown and then you experience the magic moments. But before you know it, you’re back at home wishing you could relive it all over again and you’re planning the next adventure. When you make a scrapbook, you can relive unlimited memories over and over again with the photos that sum them up the best.
Looking back to remember how much you are loved and how well you have lived through your scrapbook is such a beautiful reminder. To me, making a scrapbook is like making a forever gratitude journal. When I miss my friends, I know the memories aren’t too far away…
Another reason you’d benefit from making your own scrapbook?
Sometimes in life, the wind blows us off course and no matter how ‘together’ we think we have it – we all find ourselves lost from time to time. My scrapbook is my compass. In these moments of confusion, you can always dig out your scrapbook, make a cup of tea and have a flick through.
A scrapbook has the ability to fill your heart with happiness as you remember all the life and love you’ve experienced. What a wonderful though it is that some more of your magical days haven’t even happened yet…
How to make your own scrapbook
To get started on your scrapbook you will need:
- A Scrapbook – shop mine here
- Sharpies
- Coloured pens (optional for decorating)
- Glue stick
- Scissors
- Design pages
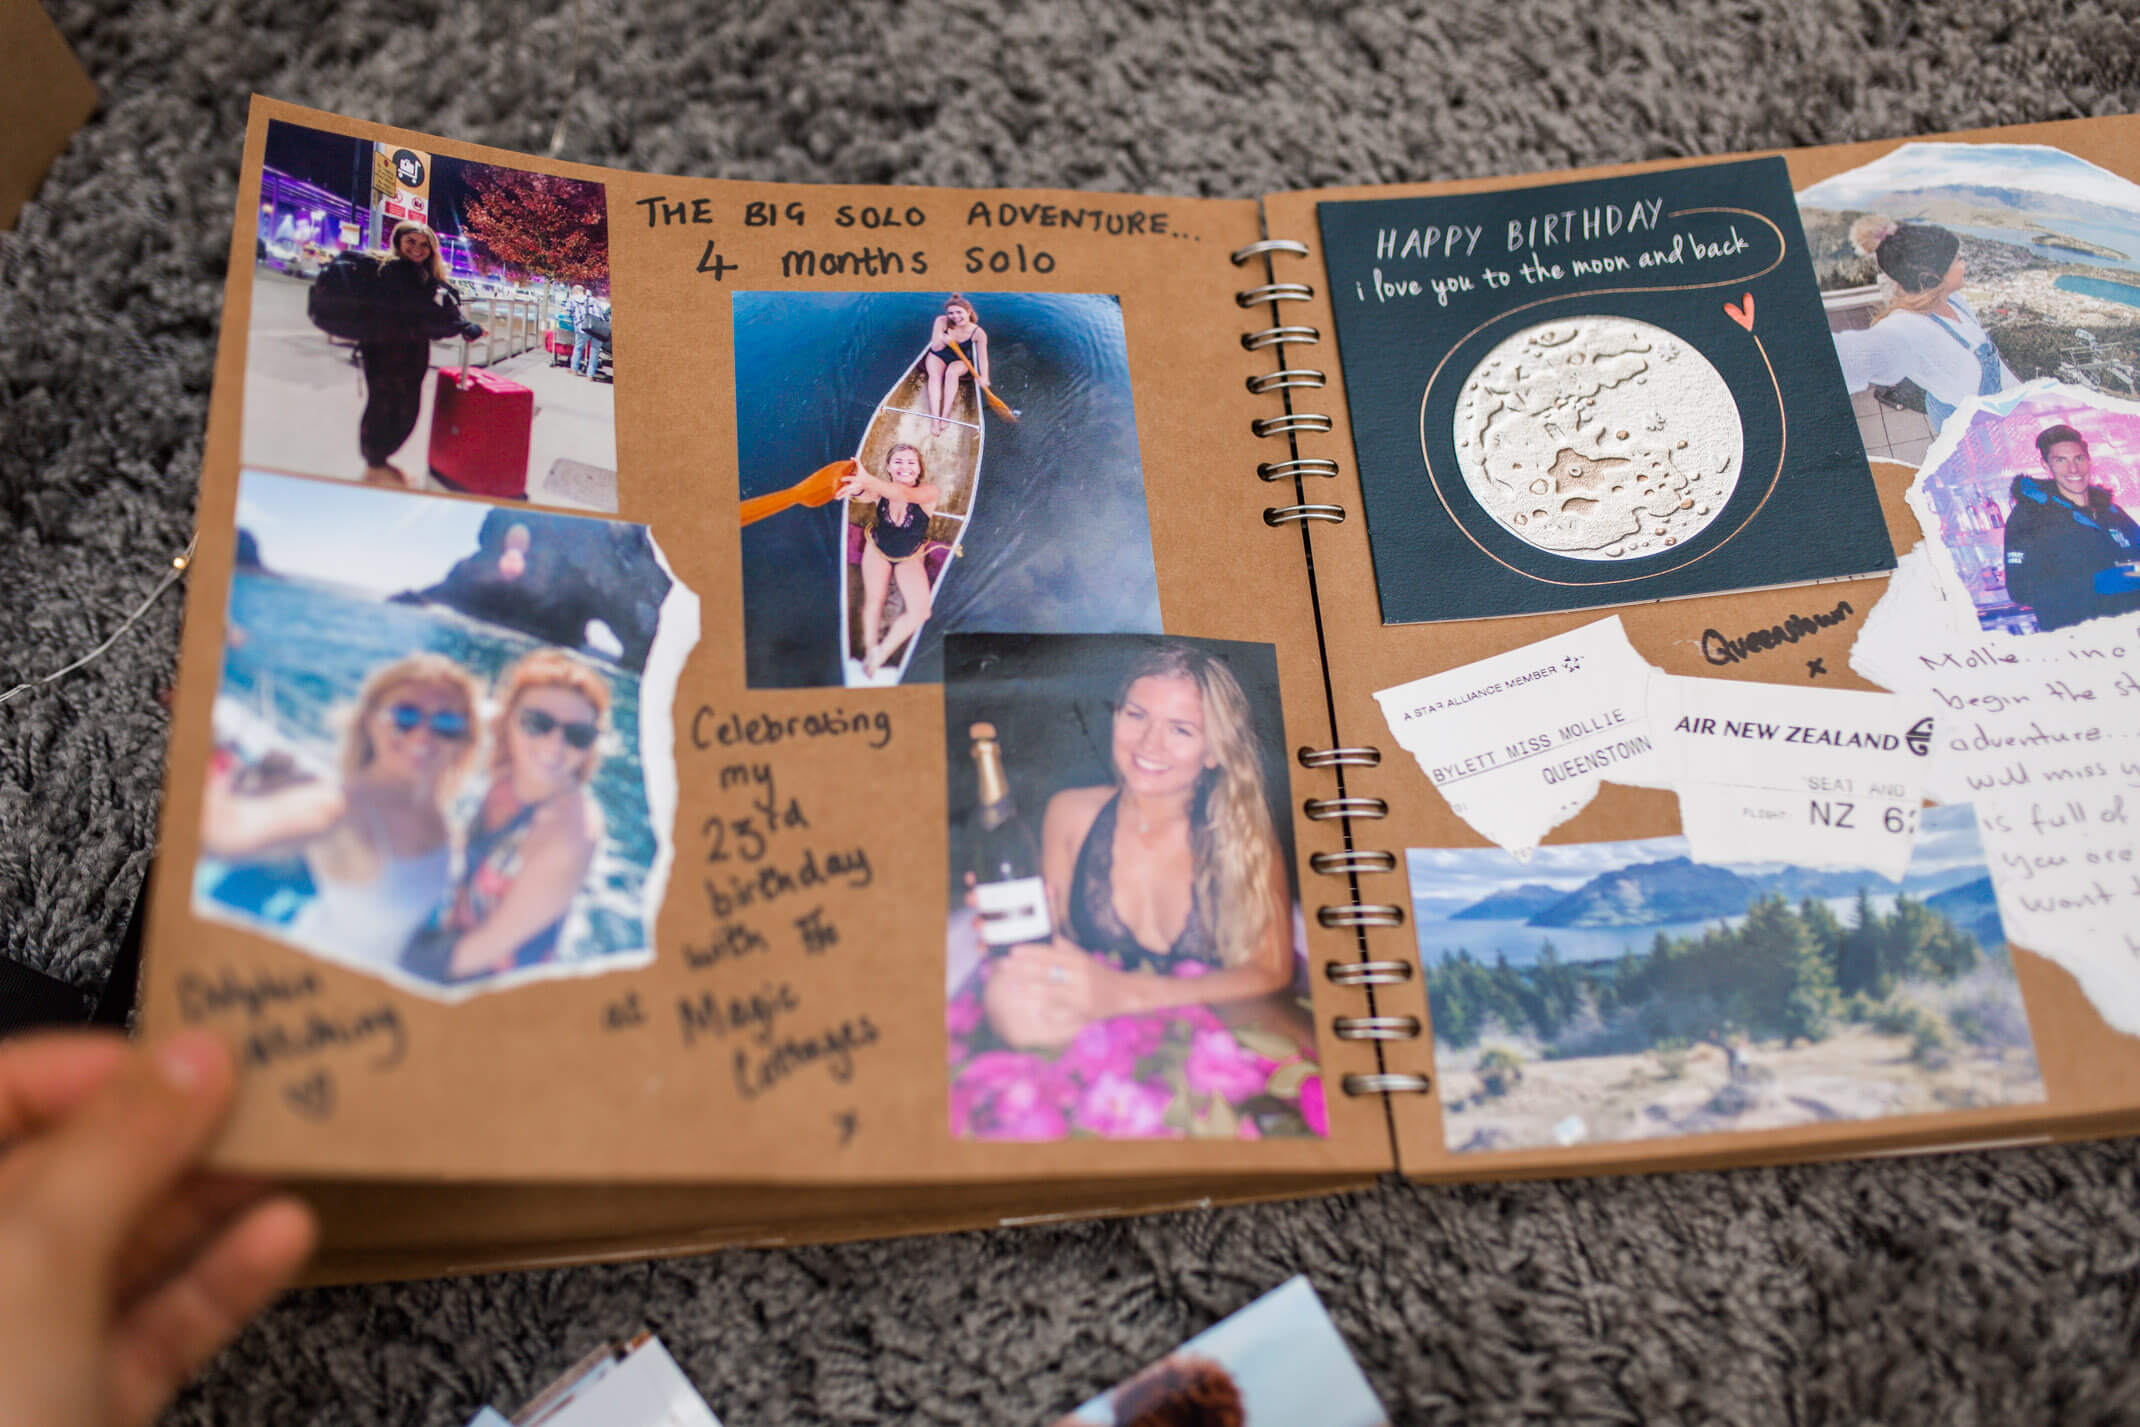
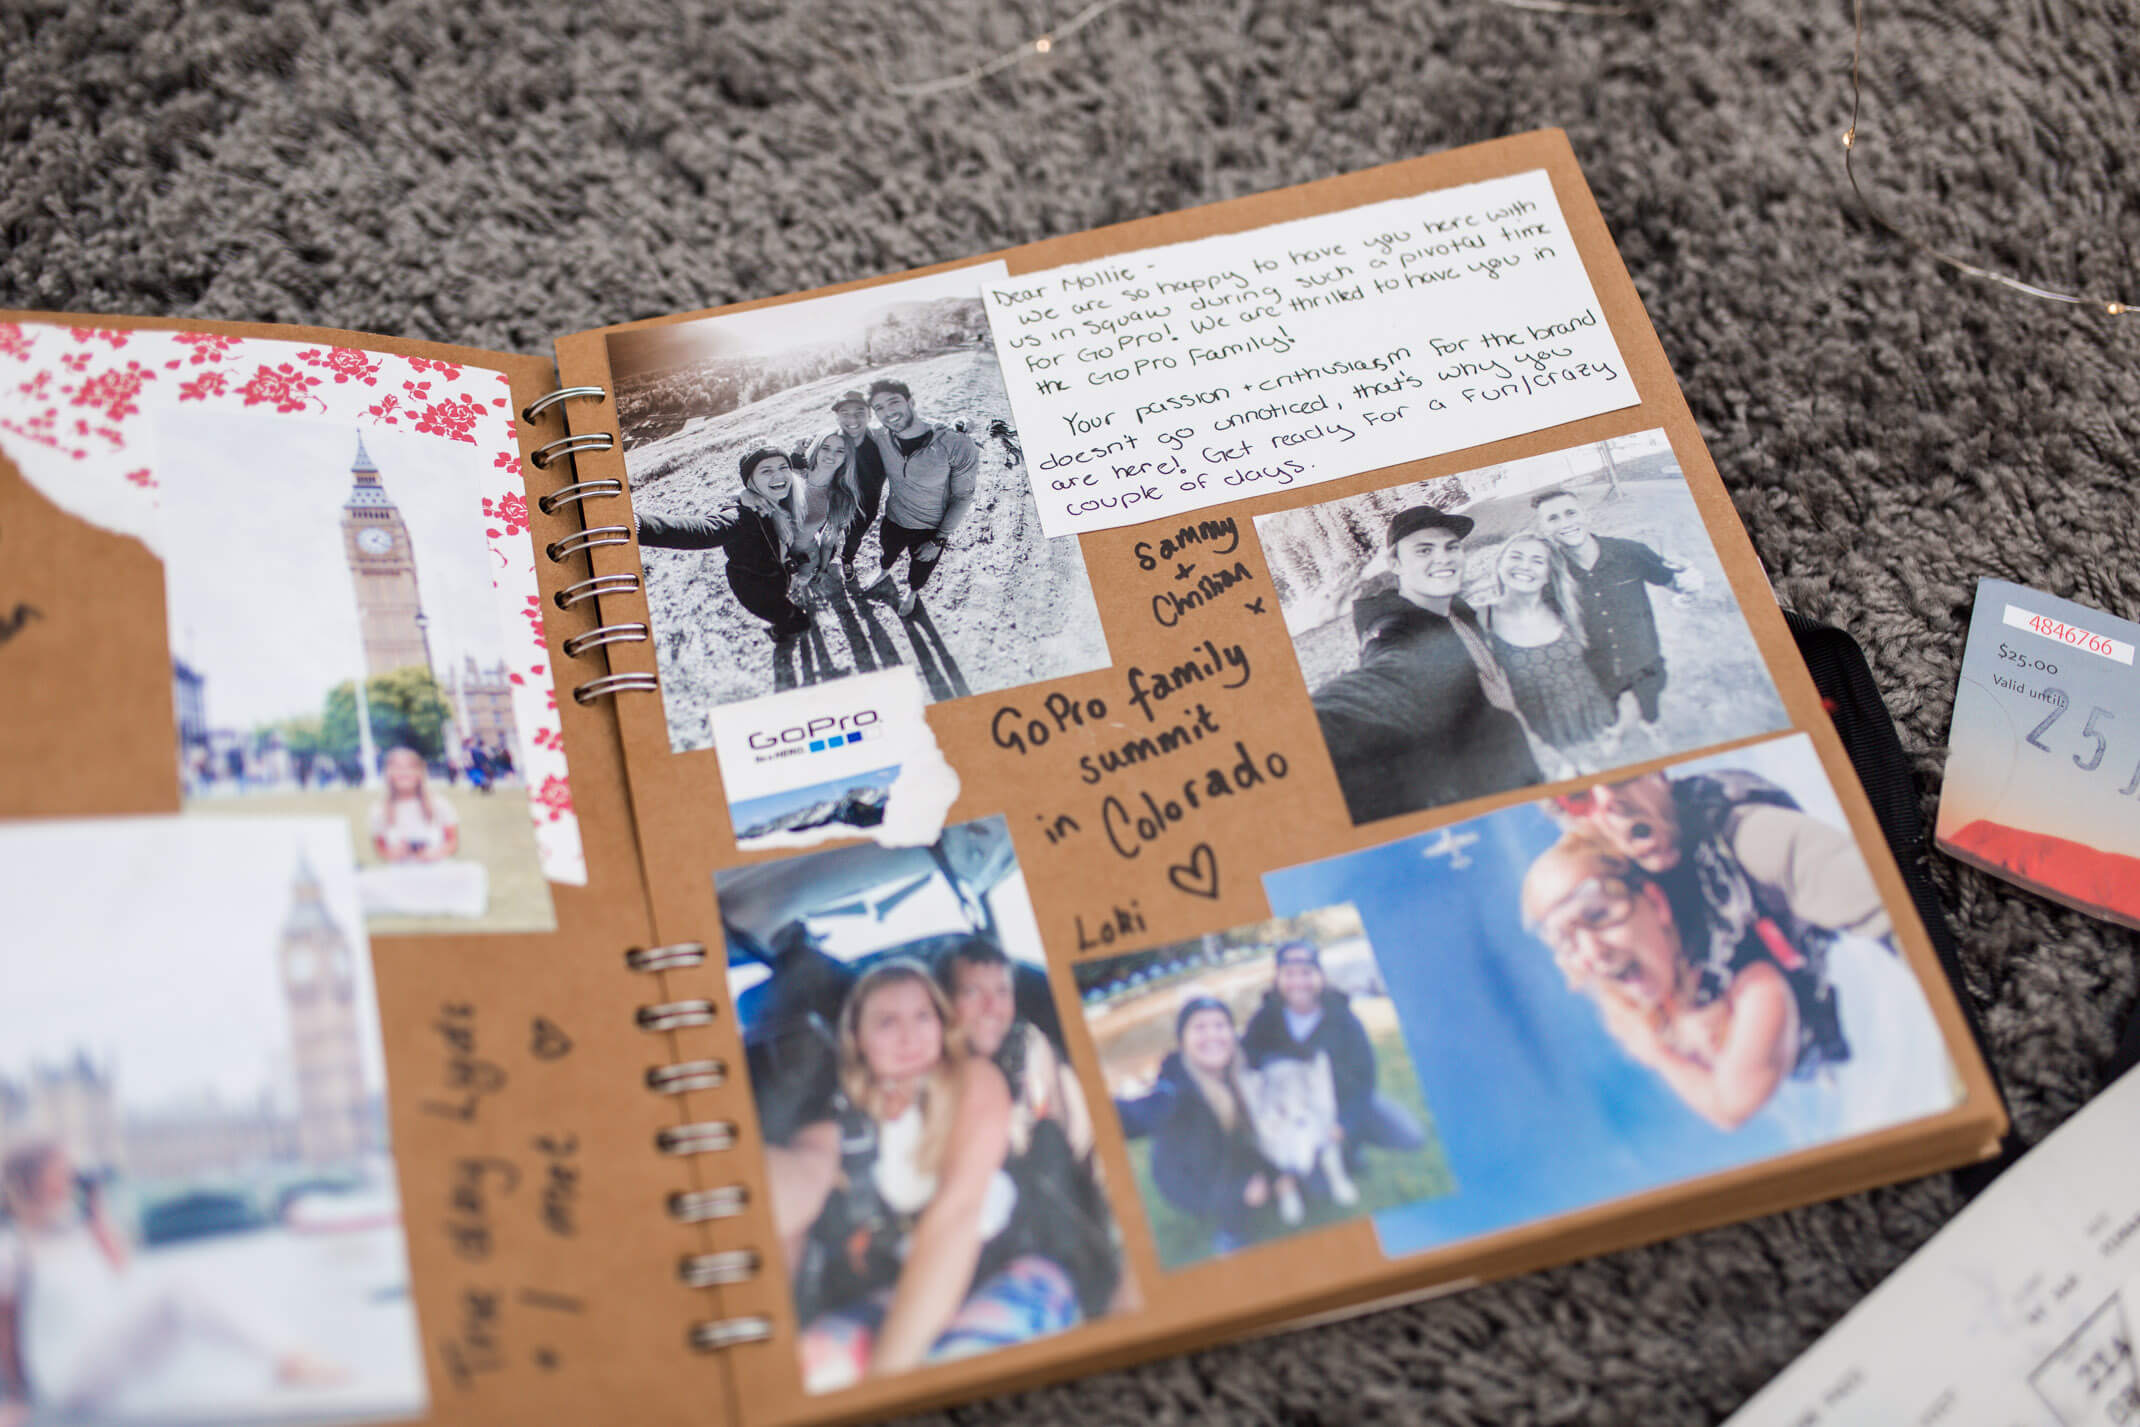
Building your scrapbook
1. Order your prints…
Select your favourite photos, the moments that capture the memories the best and upload them to a website that will print them off and deliver them to your door. Place an order with your chosen website and await their arrival in the post.
I usually order my images on the PhotoBox website.
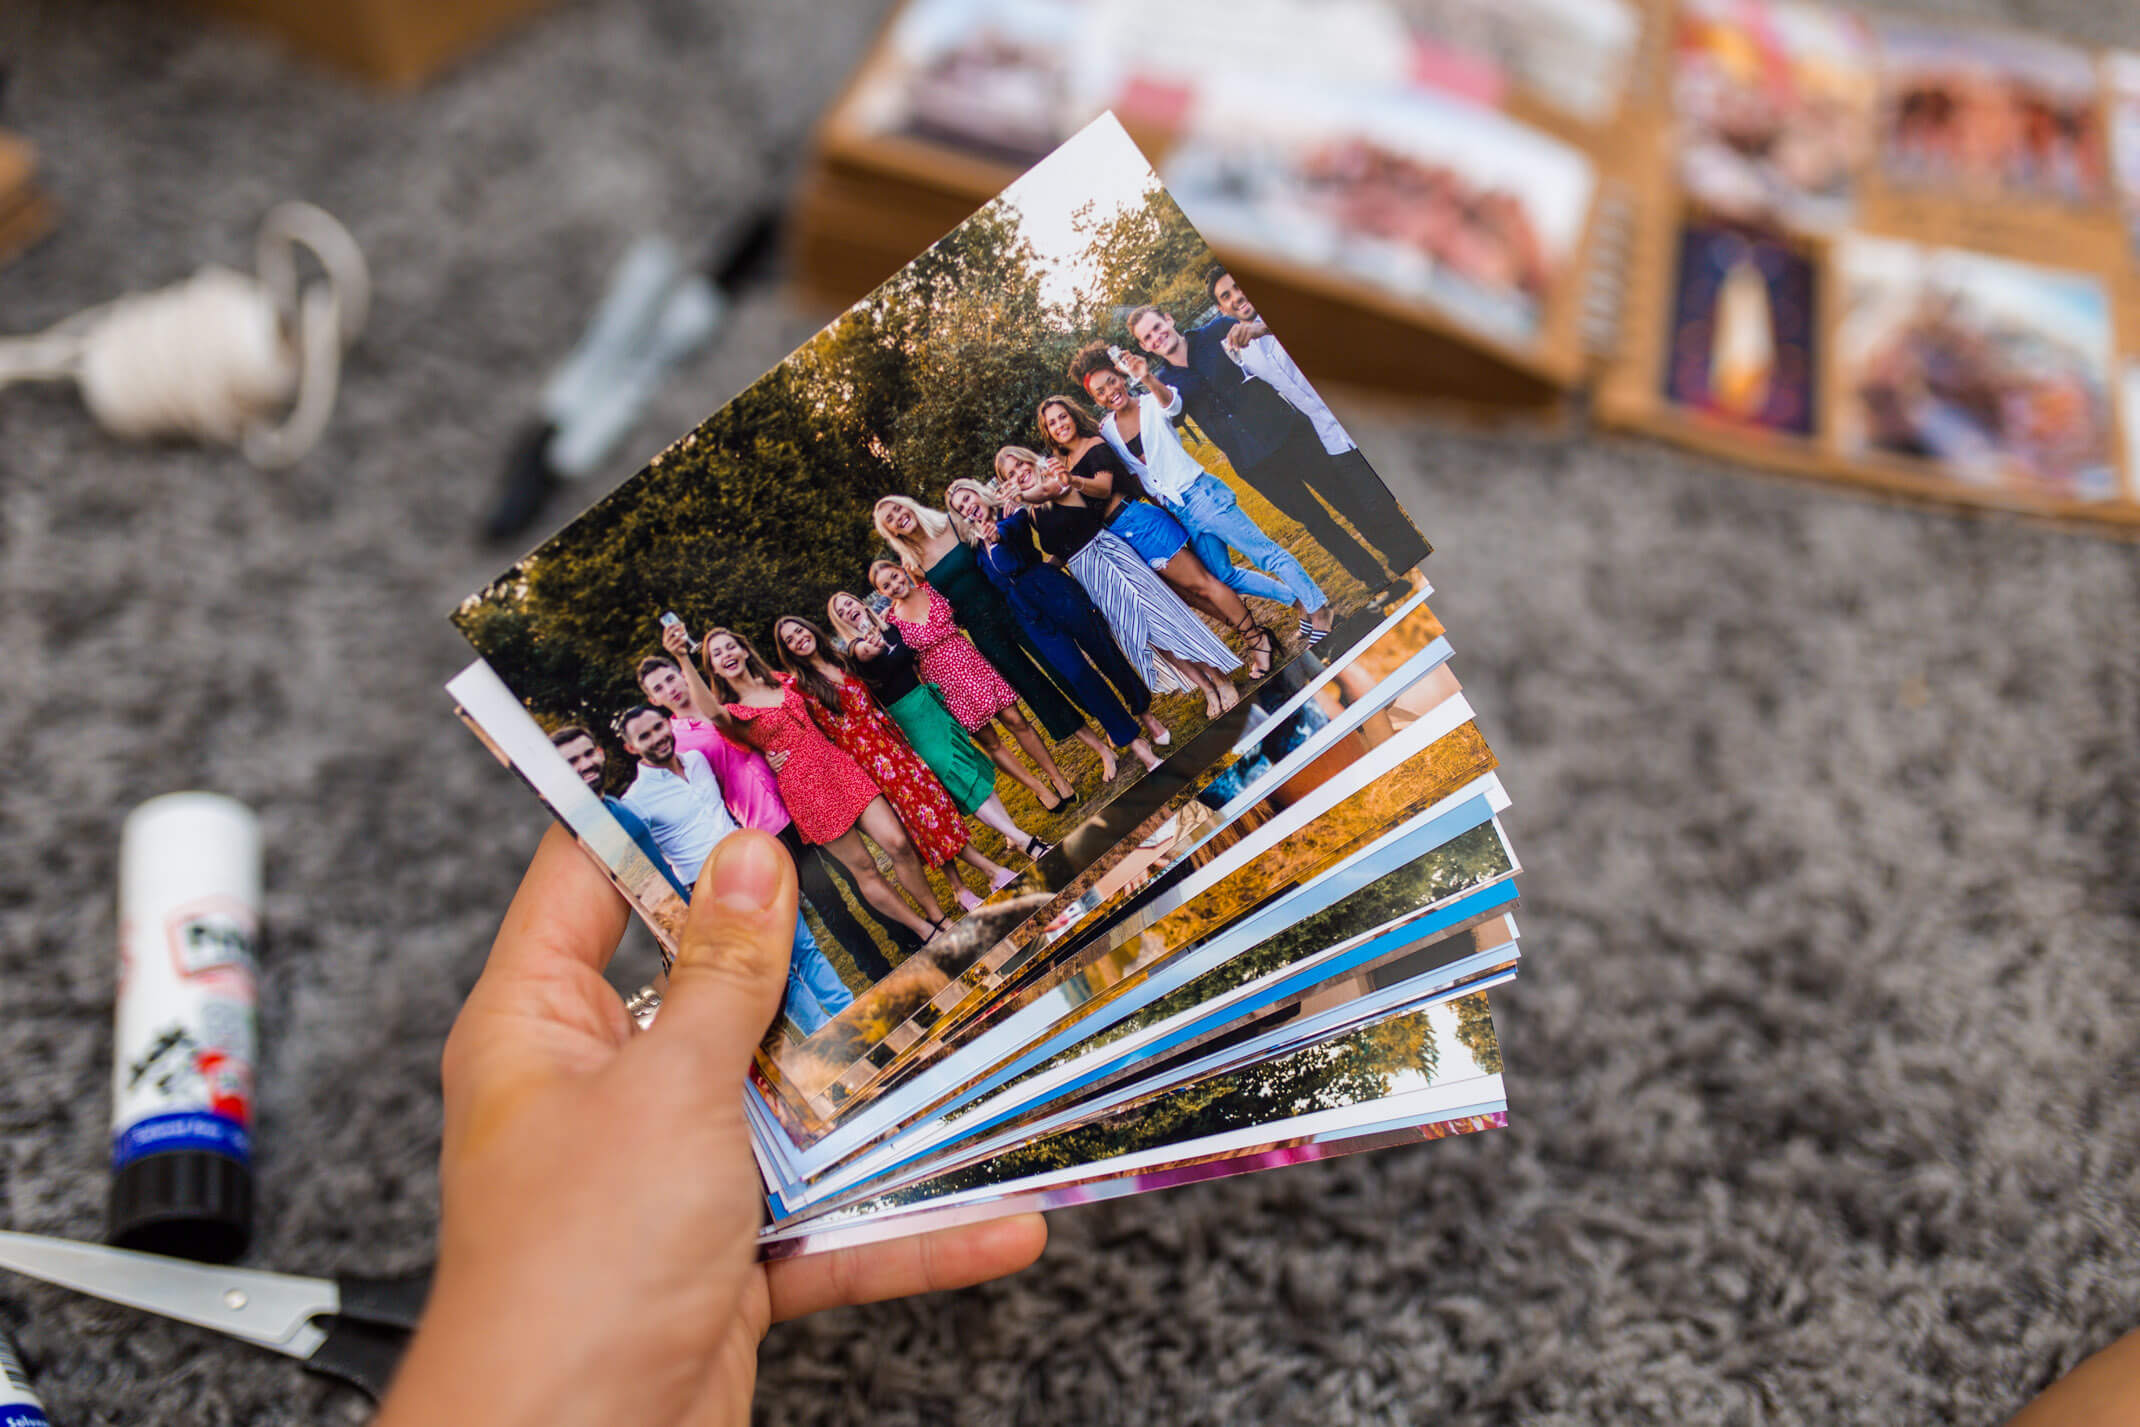
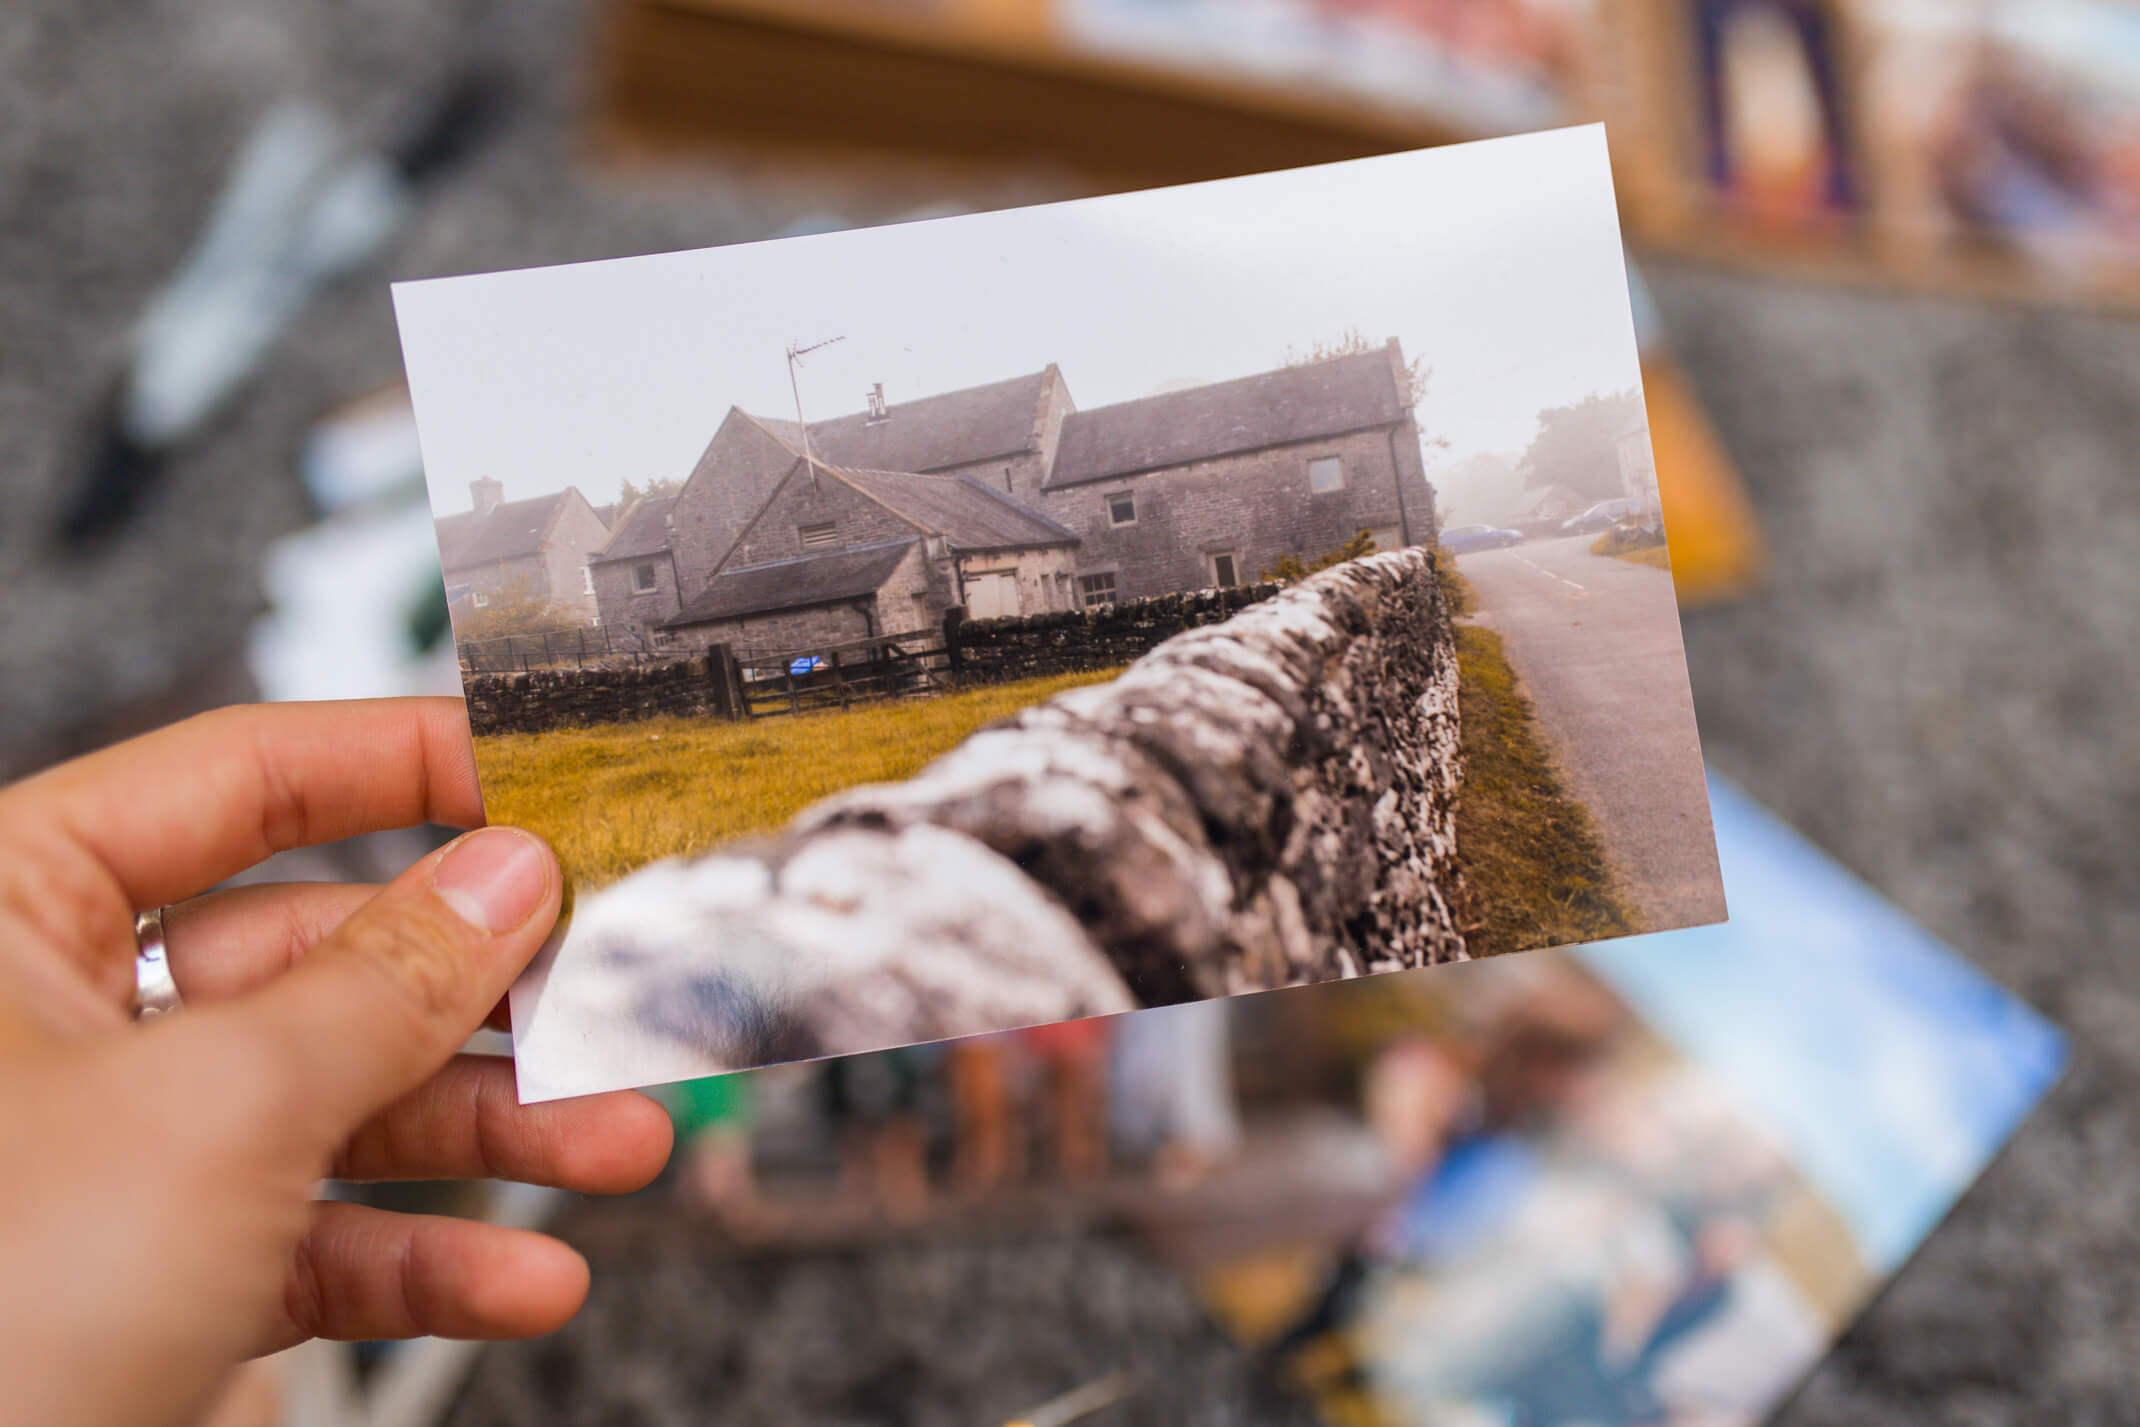

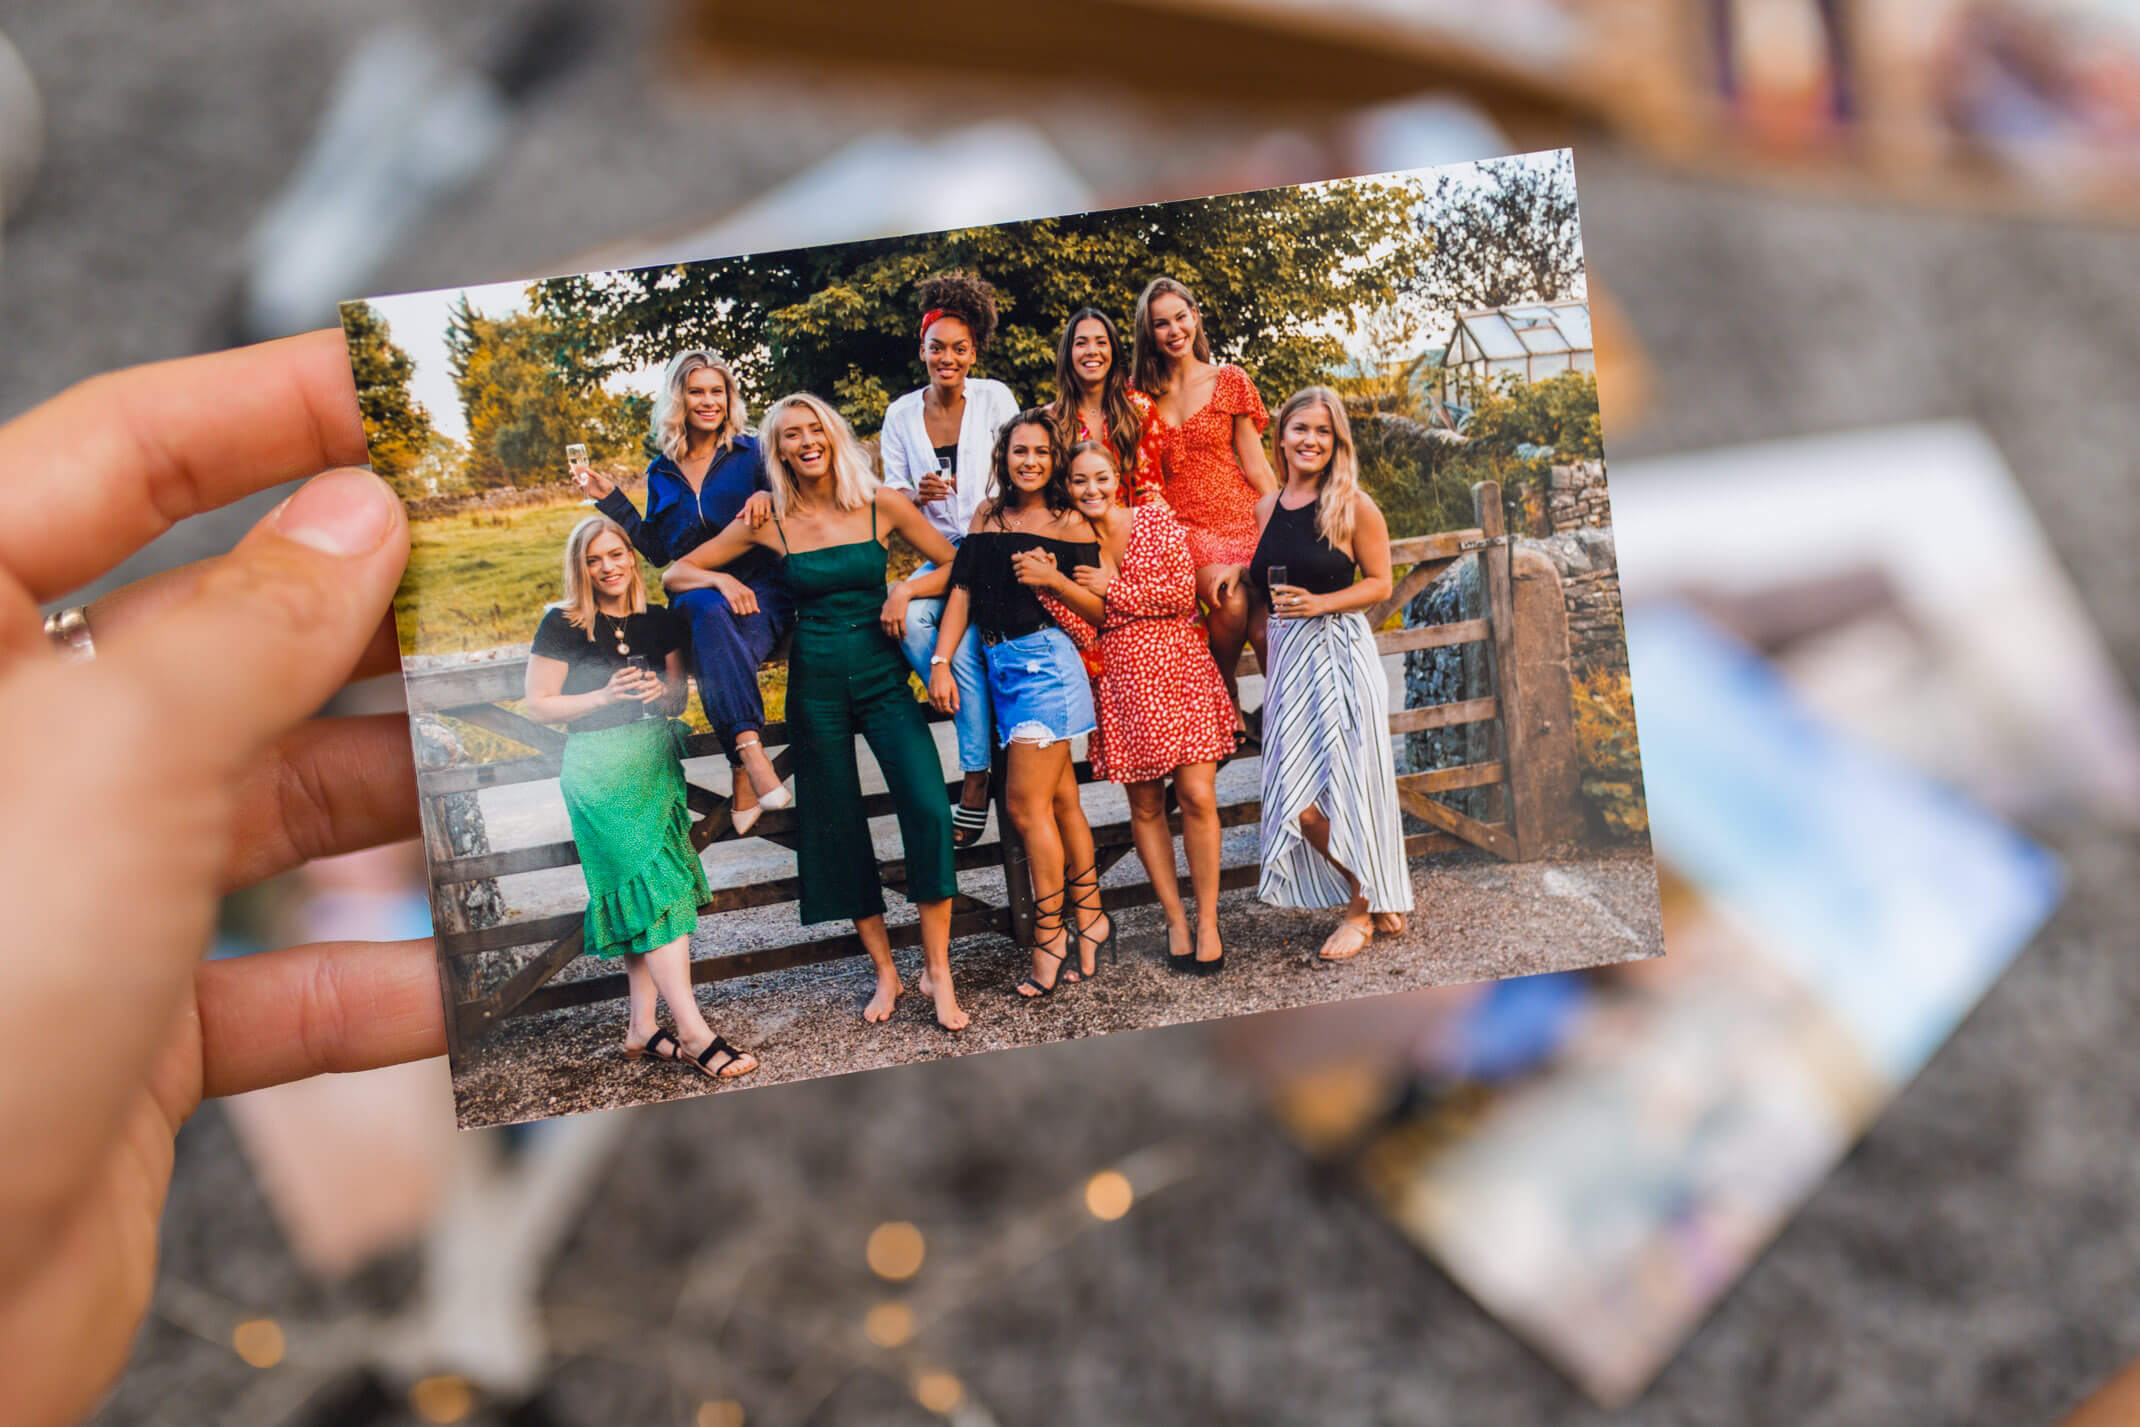
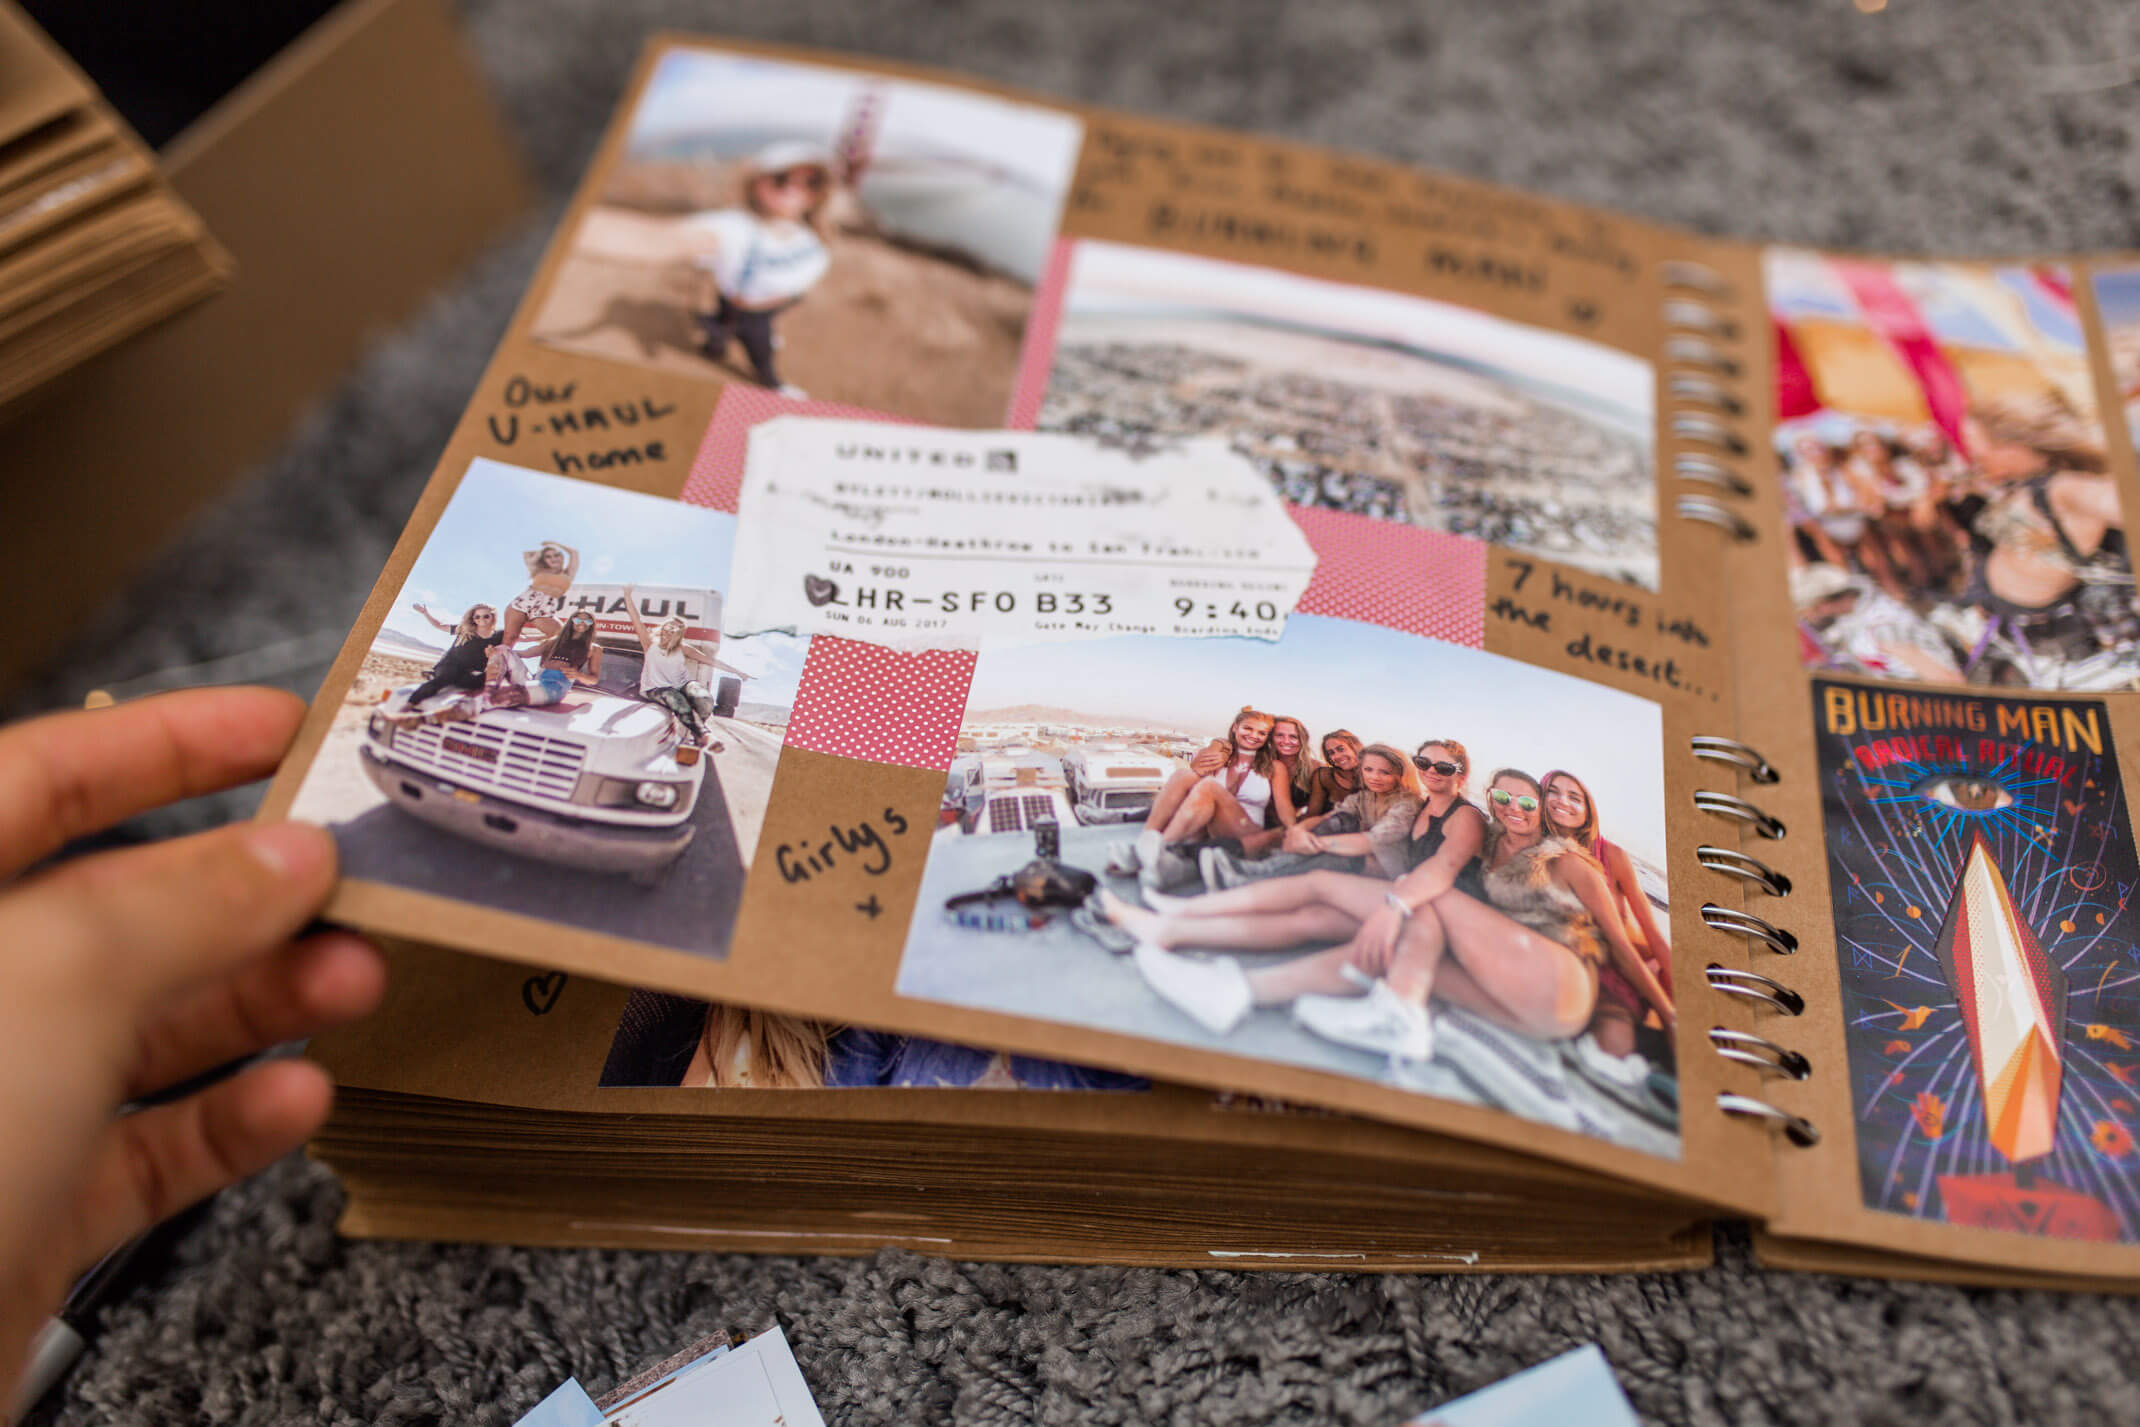
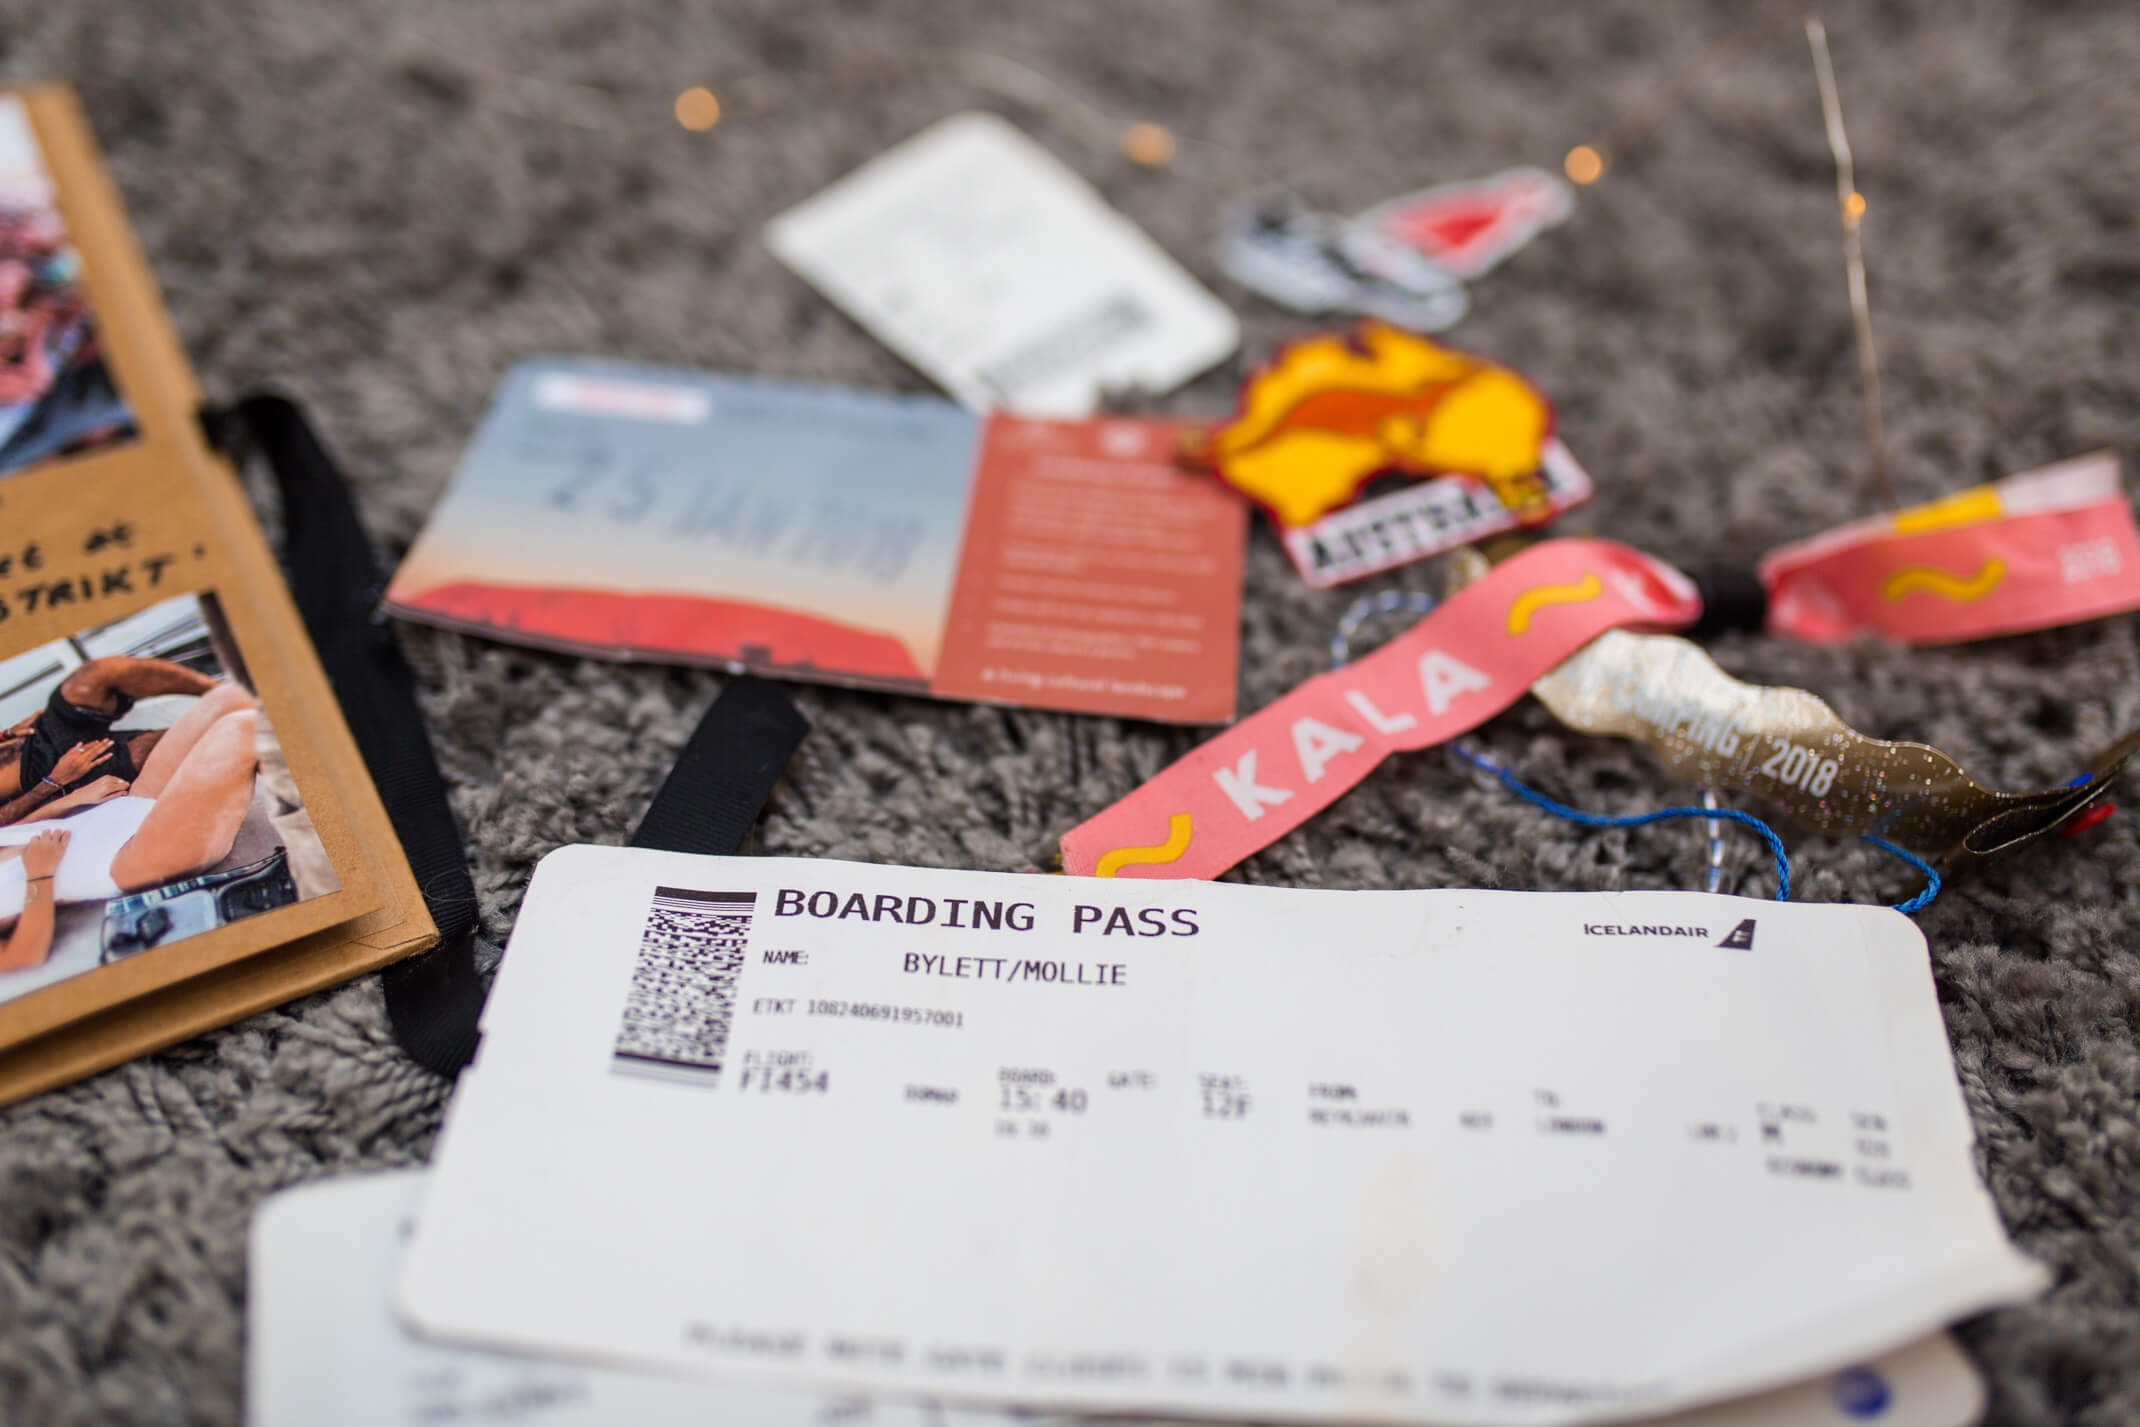
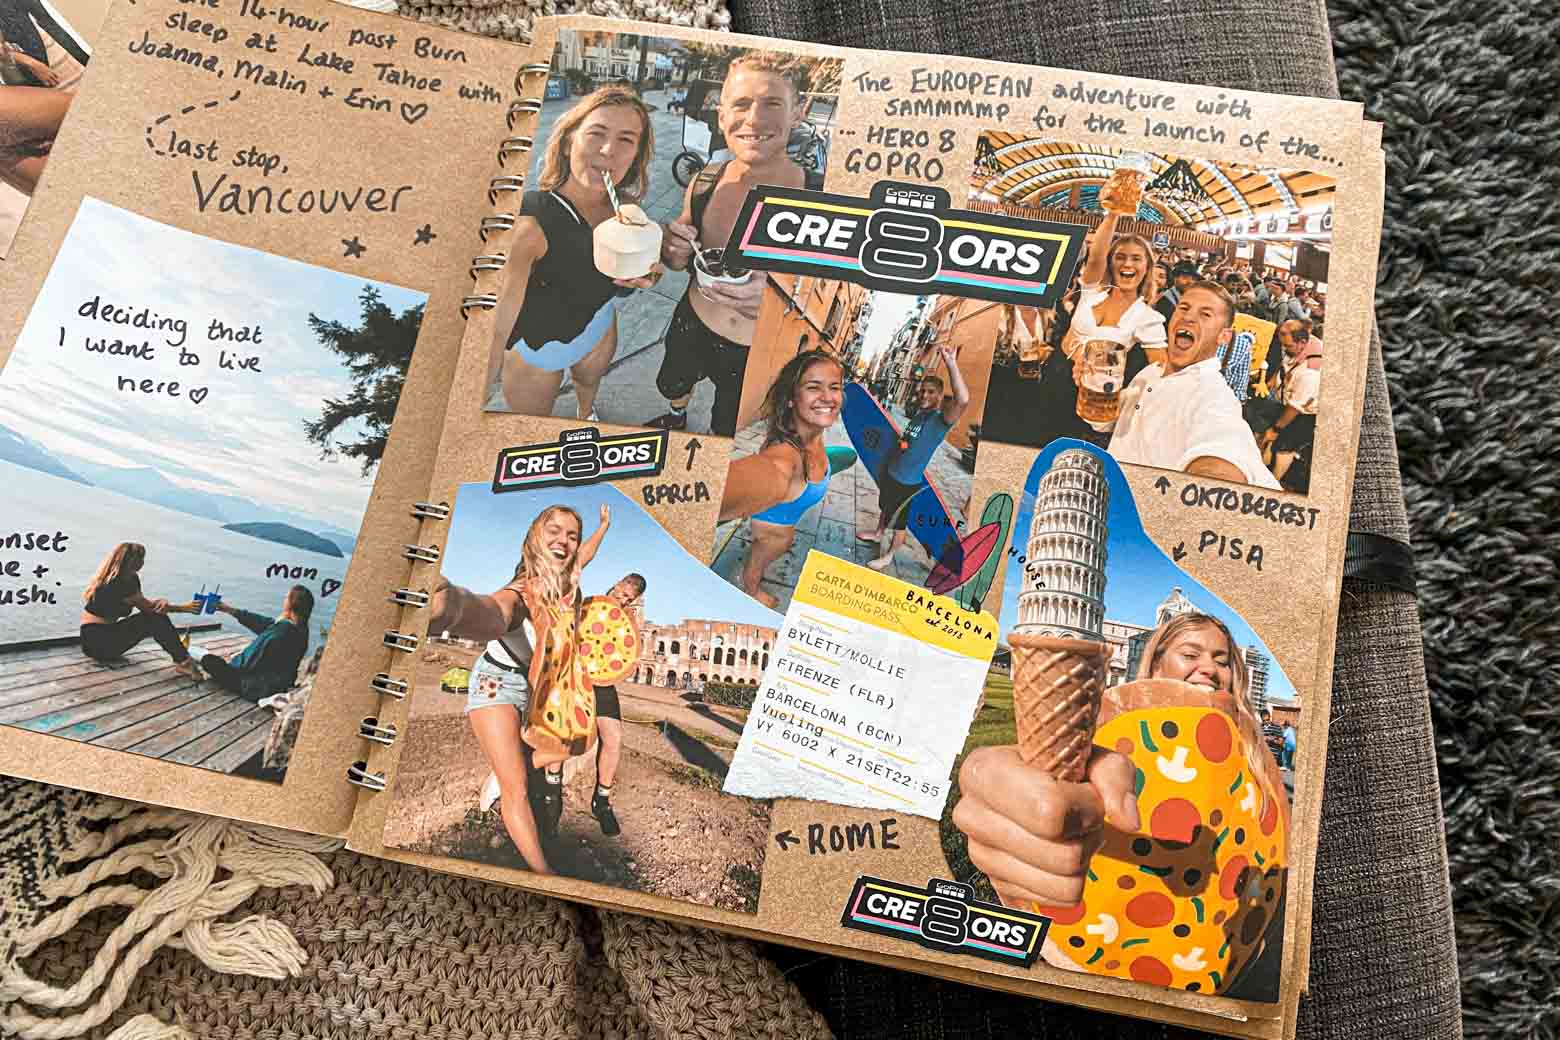
2. Keep lots of little bits from your travels like bracelets, tickets, festival bands.
Any little mementoes that will bring your scrapbook to life. Start saving them on your travels!
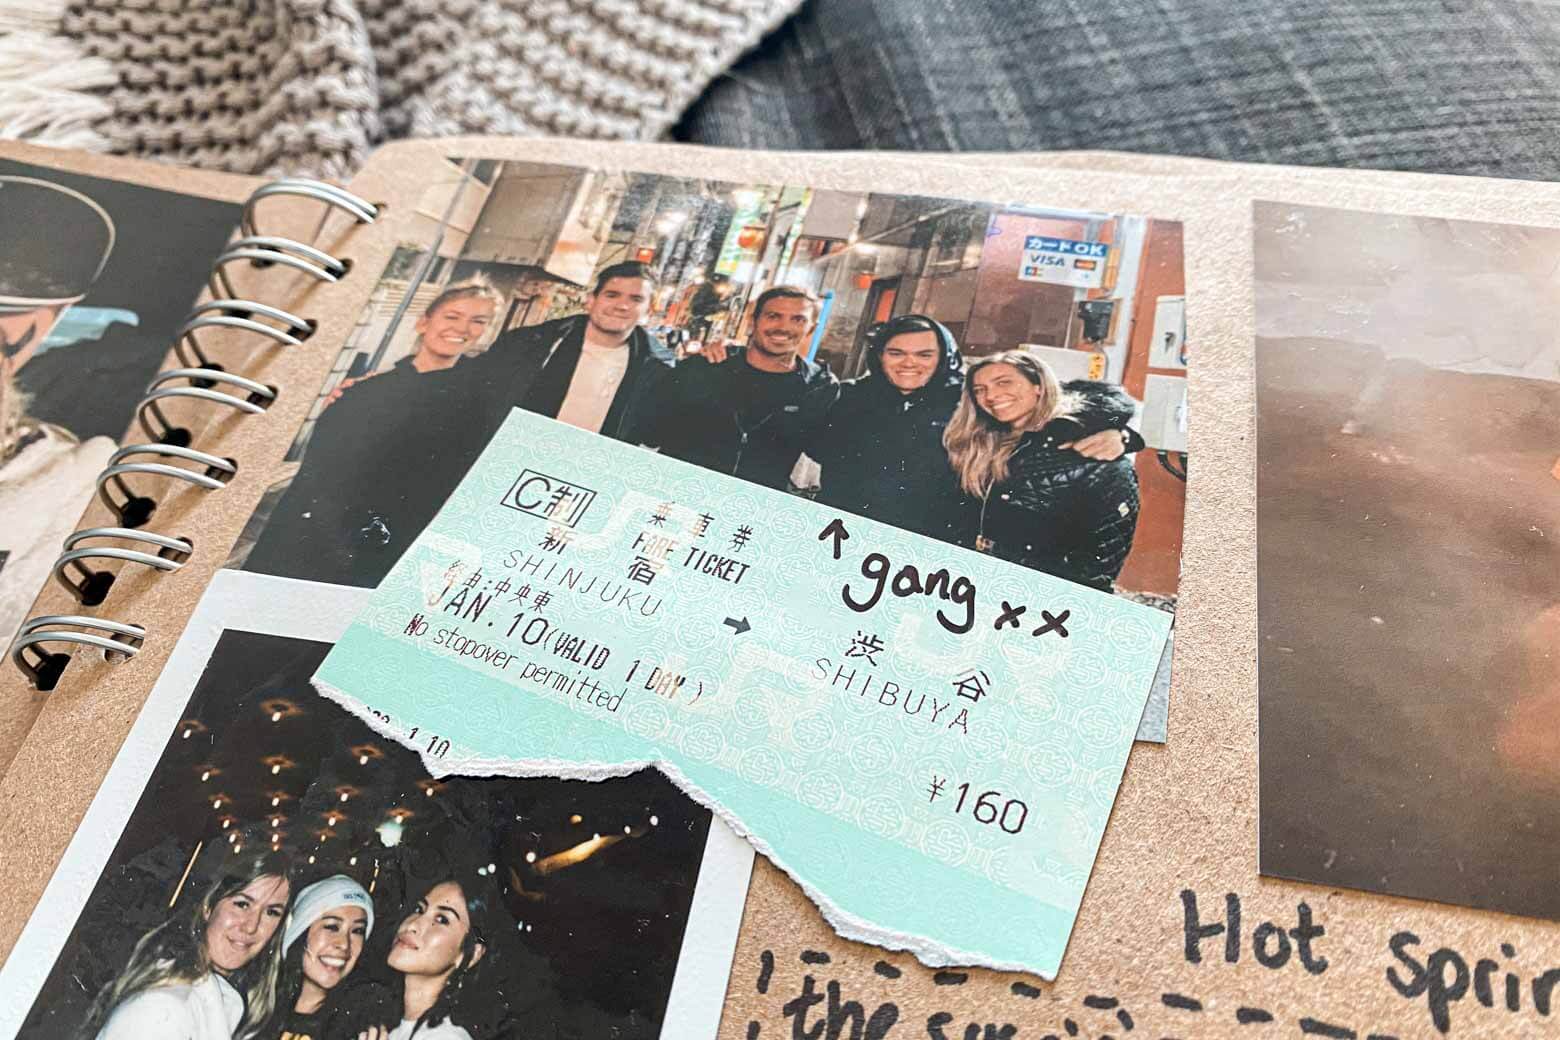
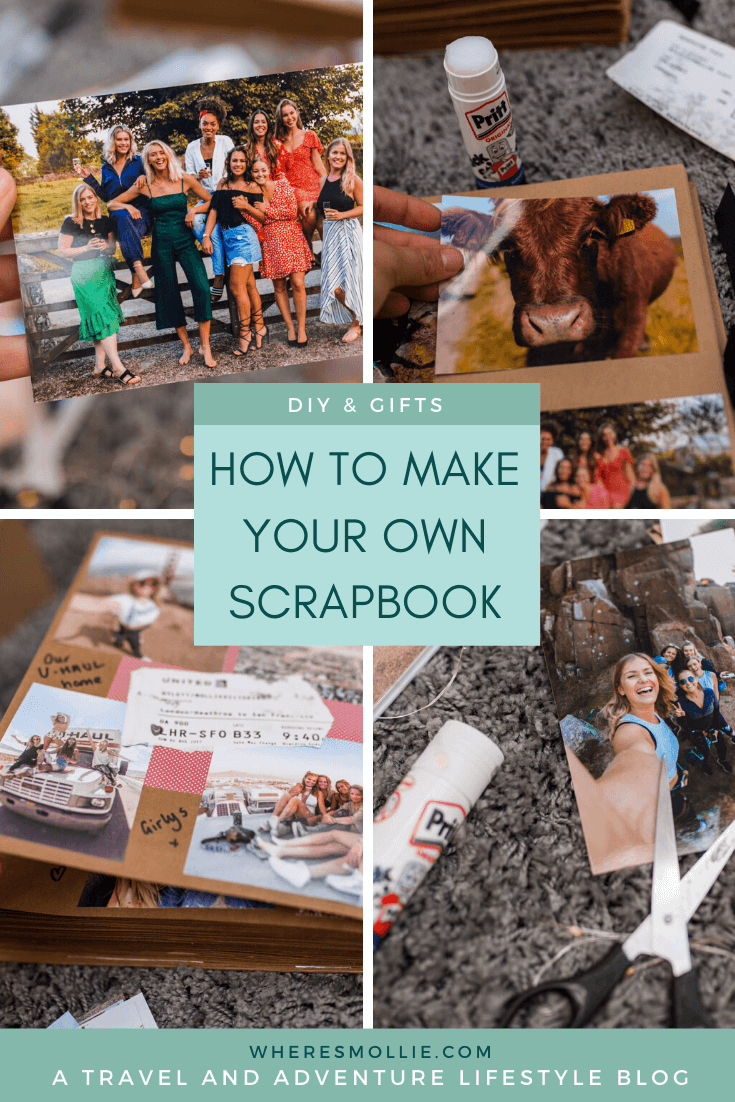
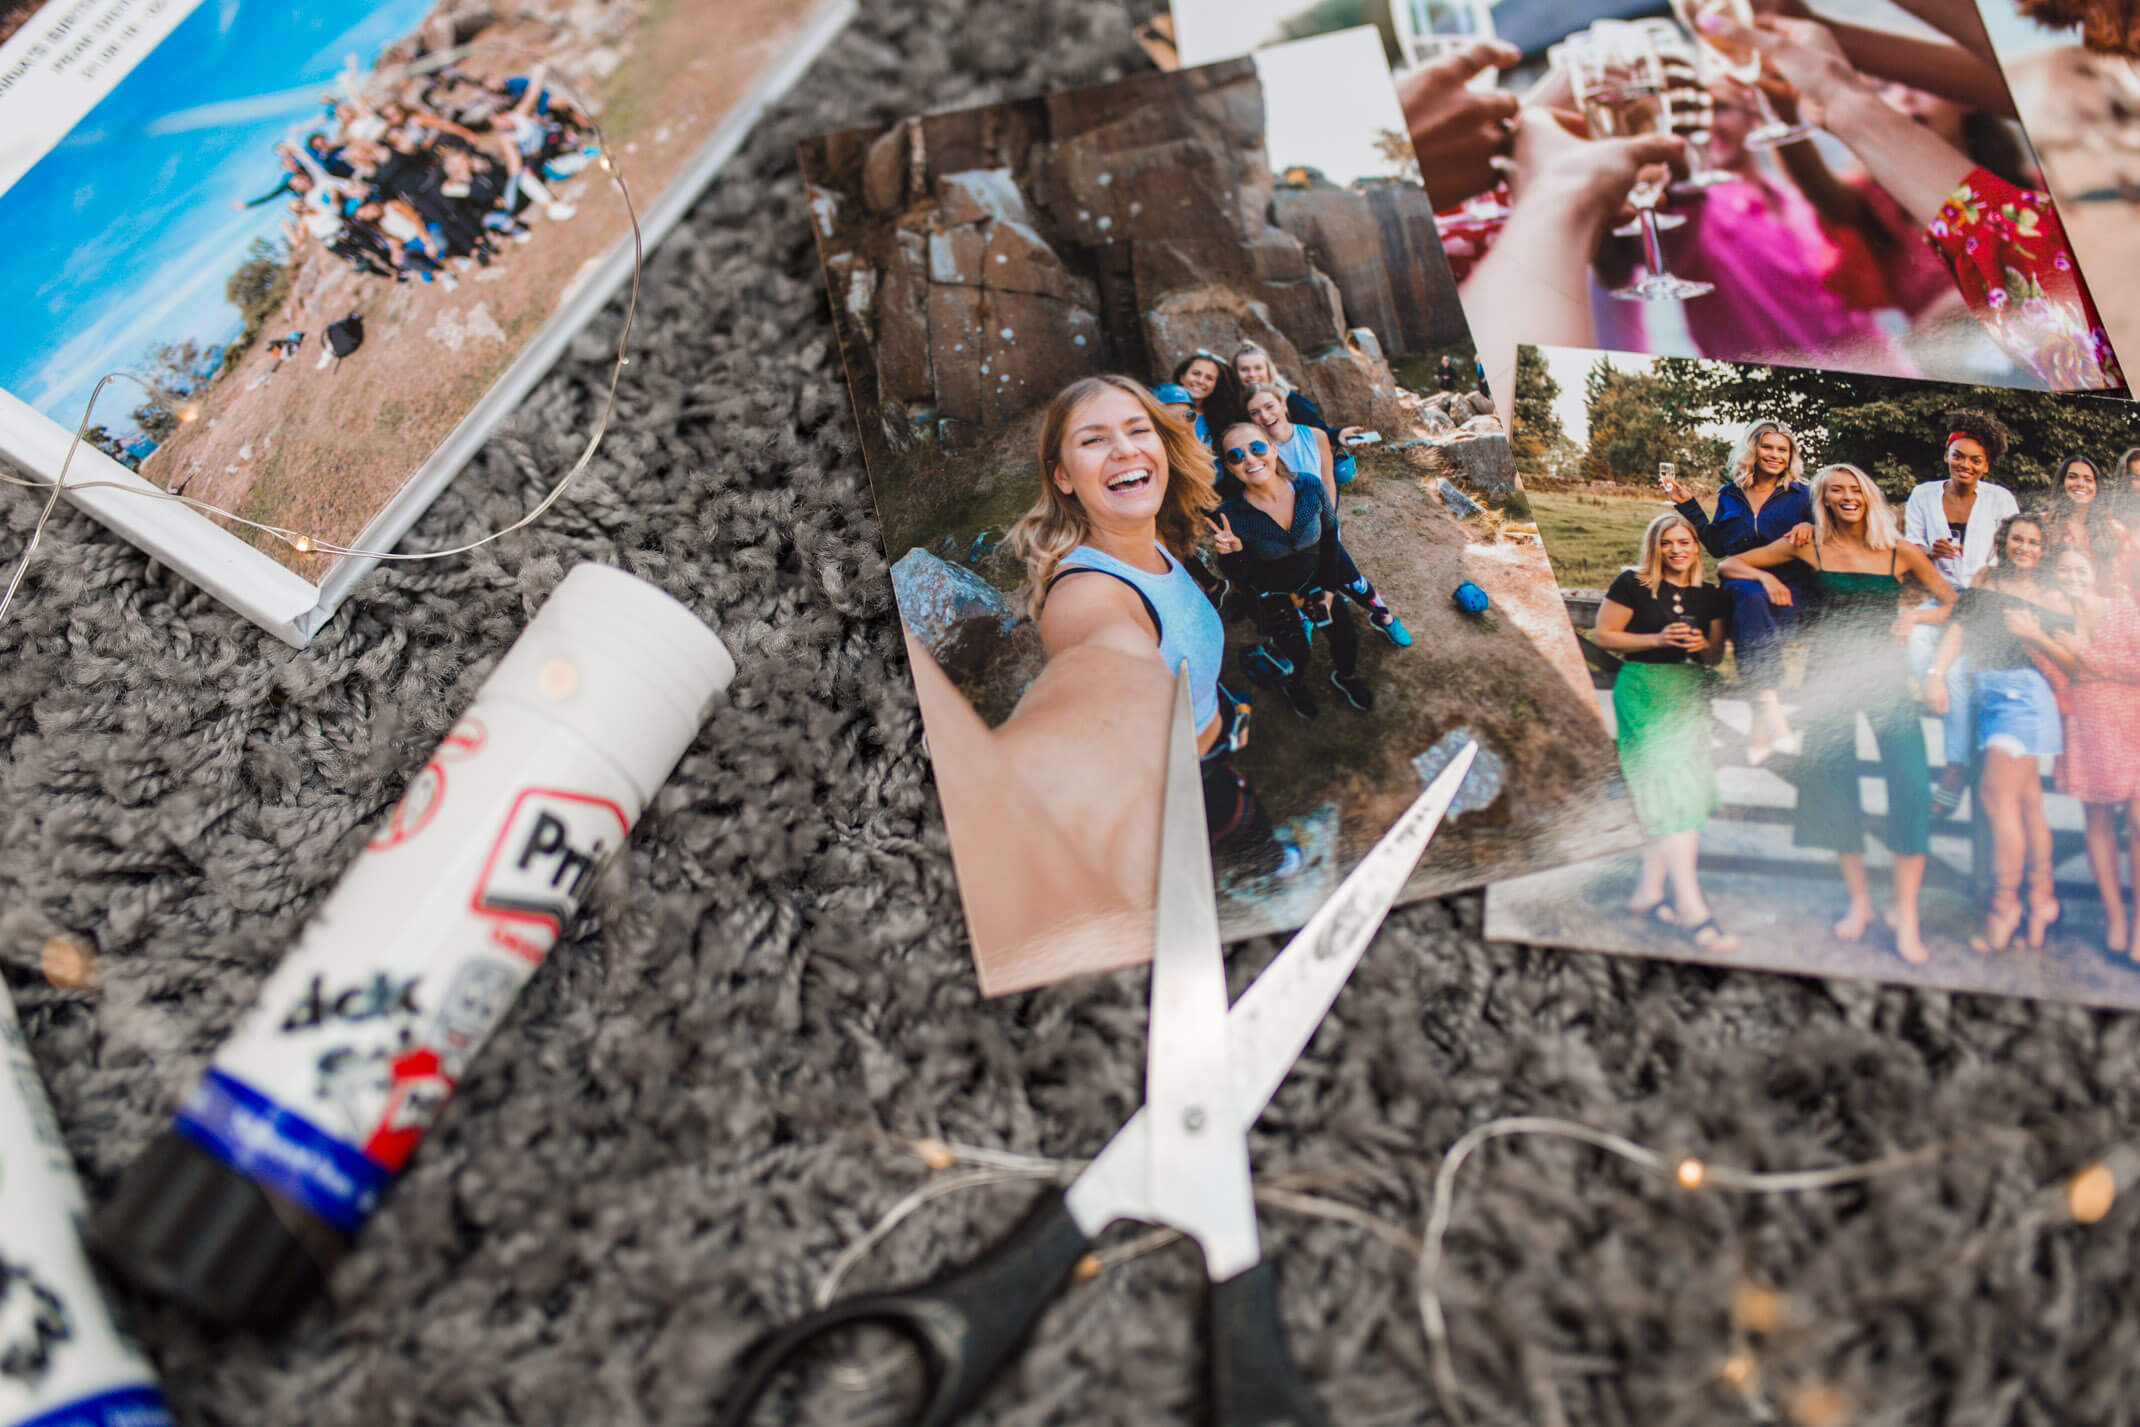
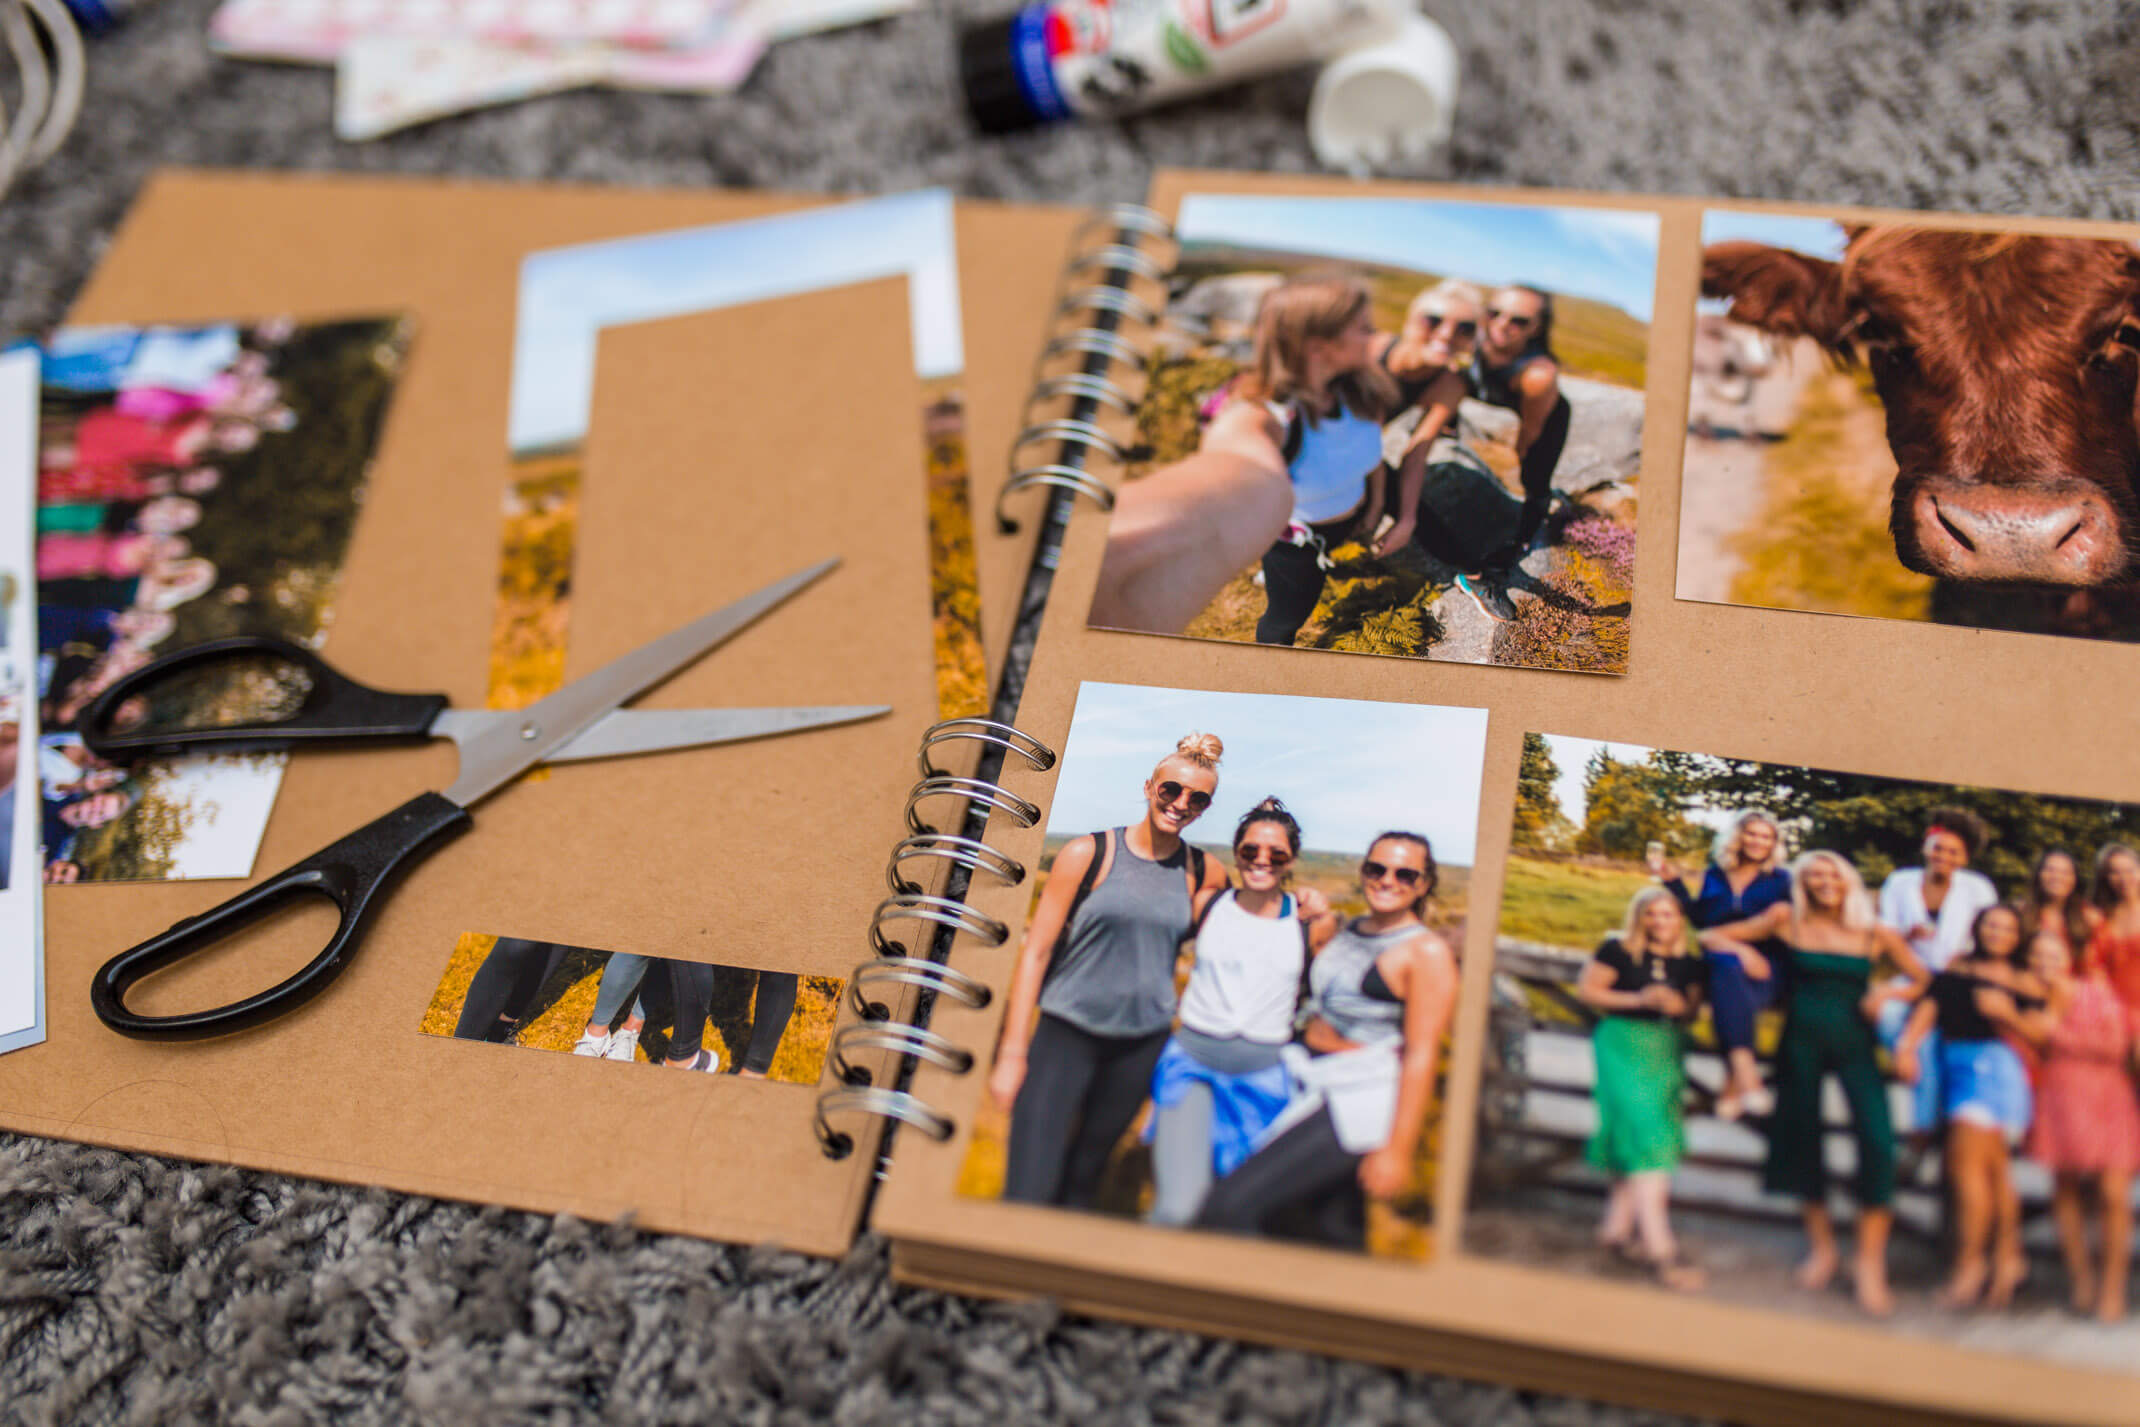
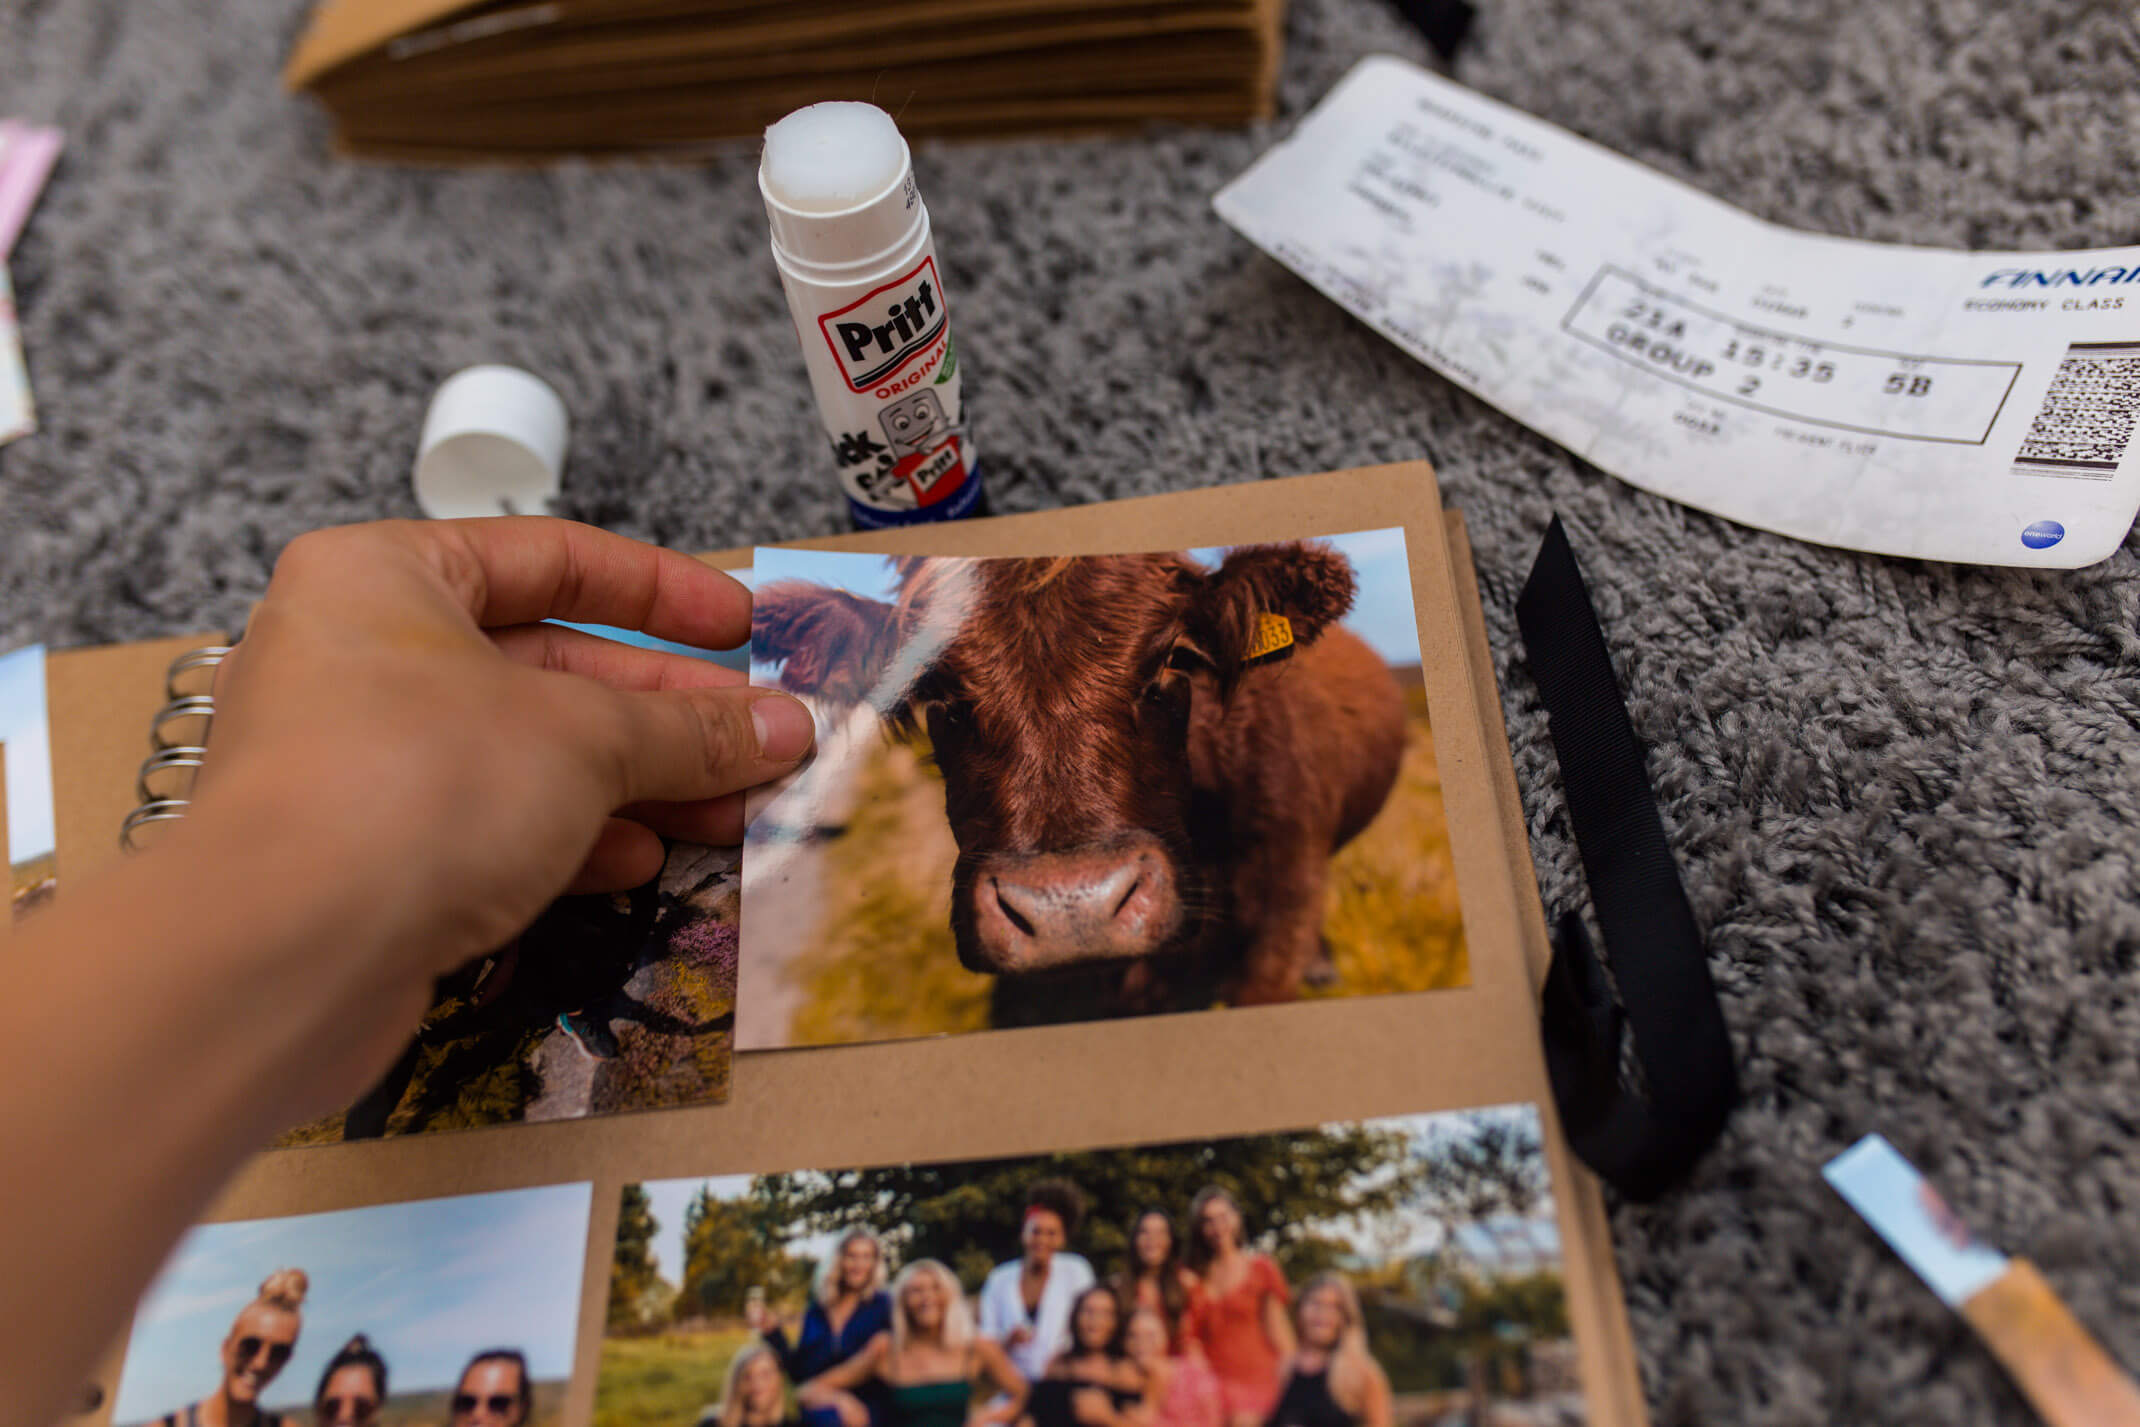
3. Lay out your photos in a rough design, cut them appropriately and then stick down one by one.
Top tip: I’m a serious perfectionist but with scrapbooks, it’s almost better the rougher they are. Don’t worry about ripping photos or cutting something too much, just make sure it all gets in there.
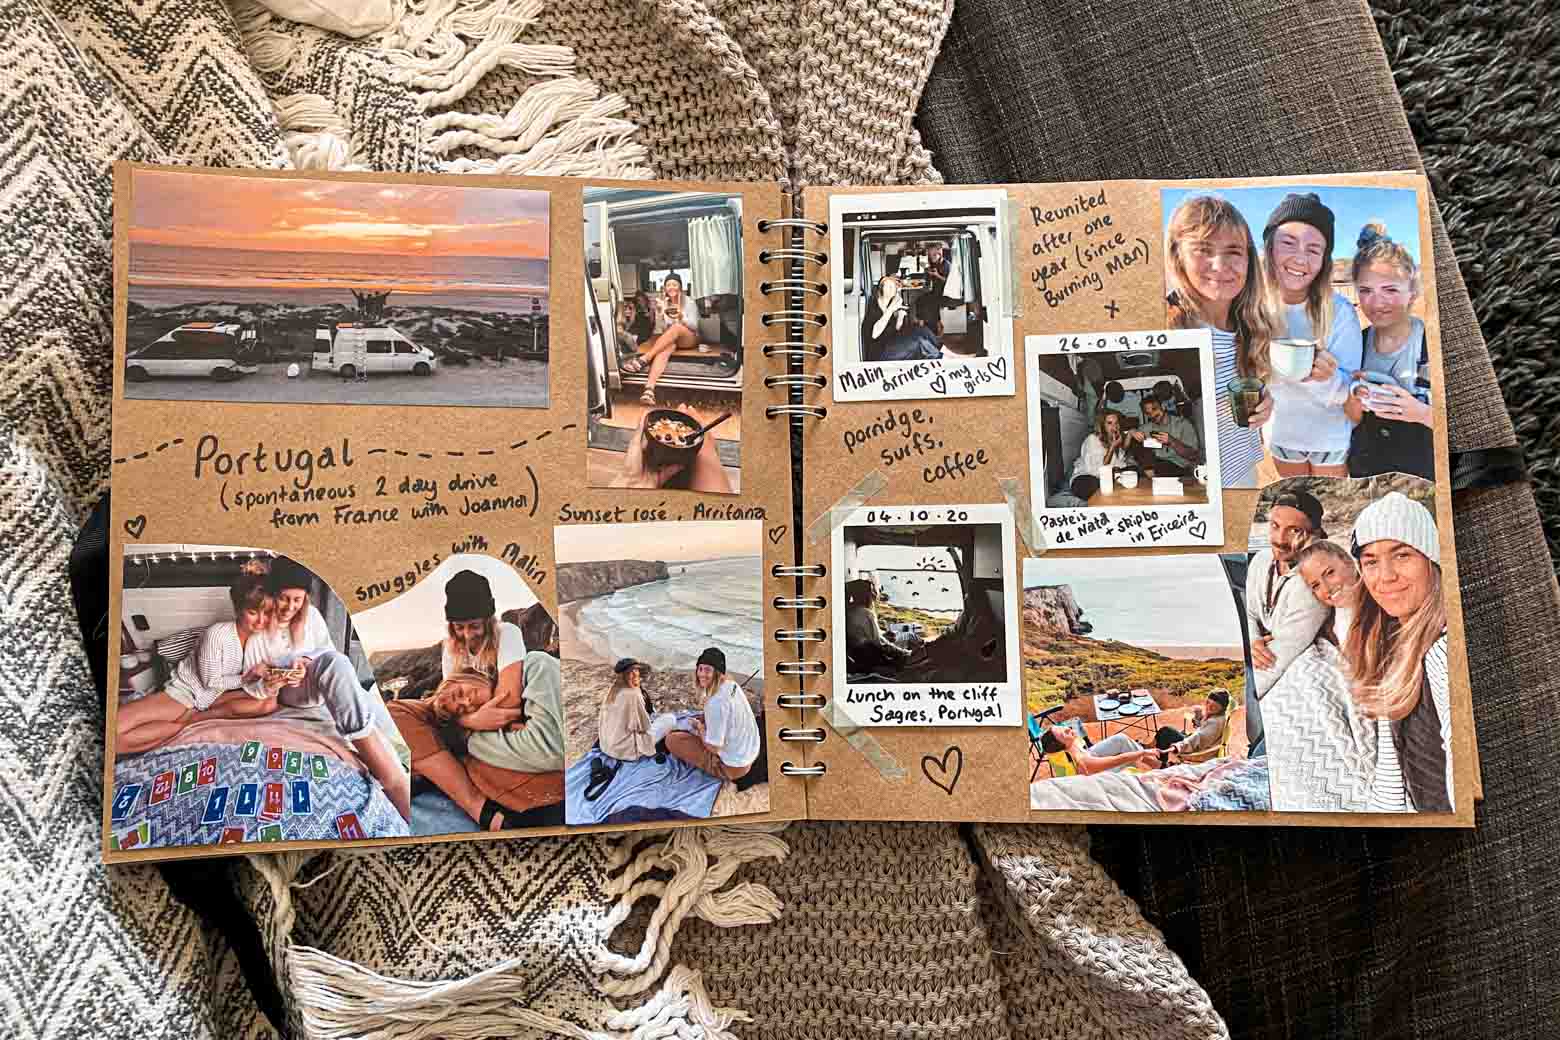
4. Add in the details!
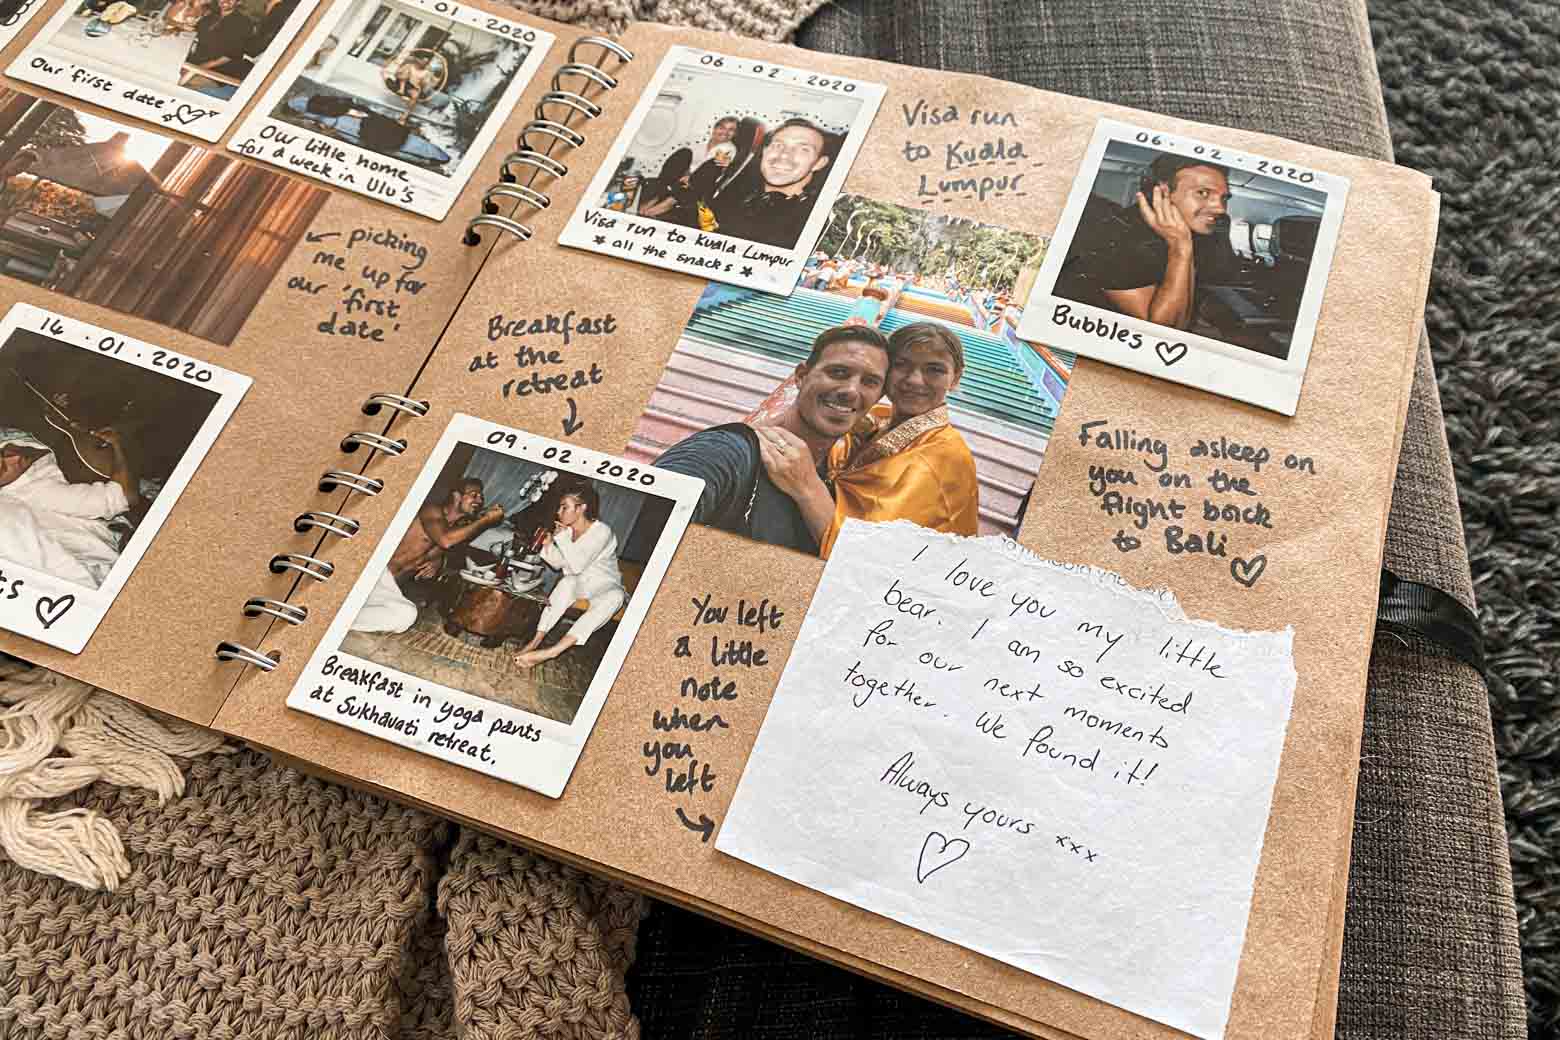
Take your sharpee and in any gaps between photos, write down any words, phrases, locations or names that will bring the adventure back to life when you forget the tiny details.
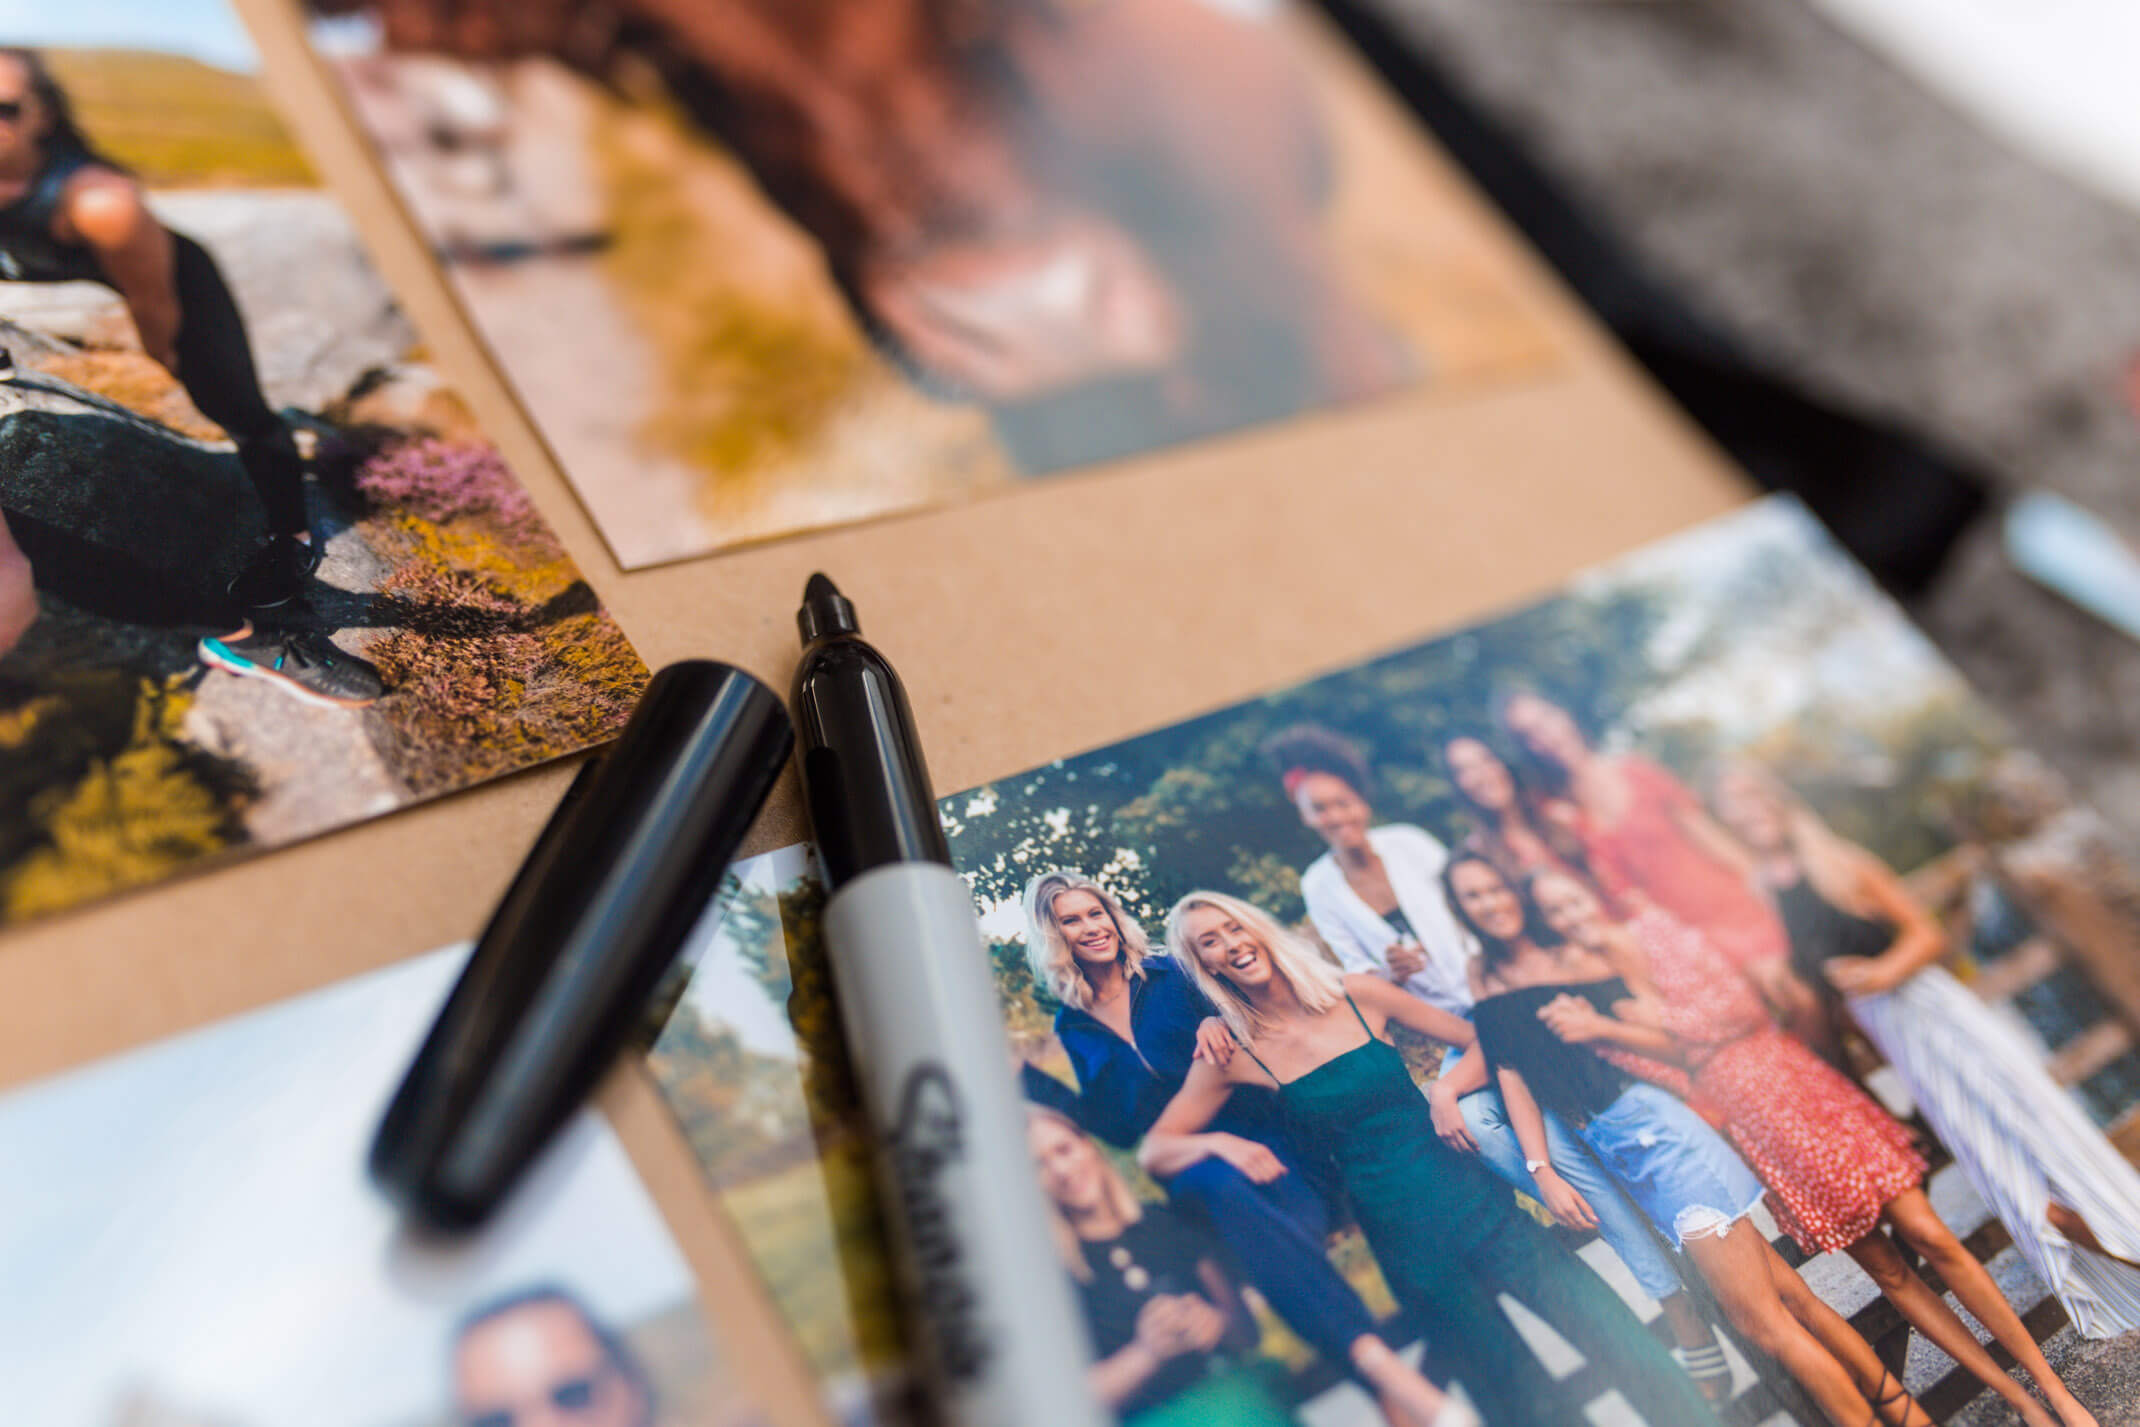
Admittedly scrapbooks can be a lot of work and seem like too much effort to do but in reality you just need to spend a Sunday every 3/4 months to update it.
Put a day in your diary and bulk print a load of photos. I started my scrapbook when I was 17 and I remember thinking that I was too old to start one. Madness. I’m so glad I went ahead anyway. Now I am turning 25 and I have 8 years of insane memories to cherish.
Start now!
It’s worth every second when you pick it up and reminisce over everything you’ve been to that’s brought you to where you are now.

Are you tempted to make a scrapbook?
How do you treasure your memories? I’d love to know!
Love as always and happy adventuring,
Mollie.
Did you find this post helpful? I’d love you to share it for me.
I can’t do this without you.
Pin and save this blog post for later…
