GoPro for travelling: Settings, attachments and editing apps
My life would suck without my GoPros… honestly.
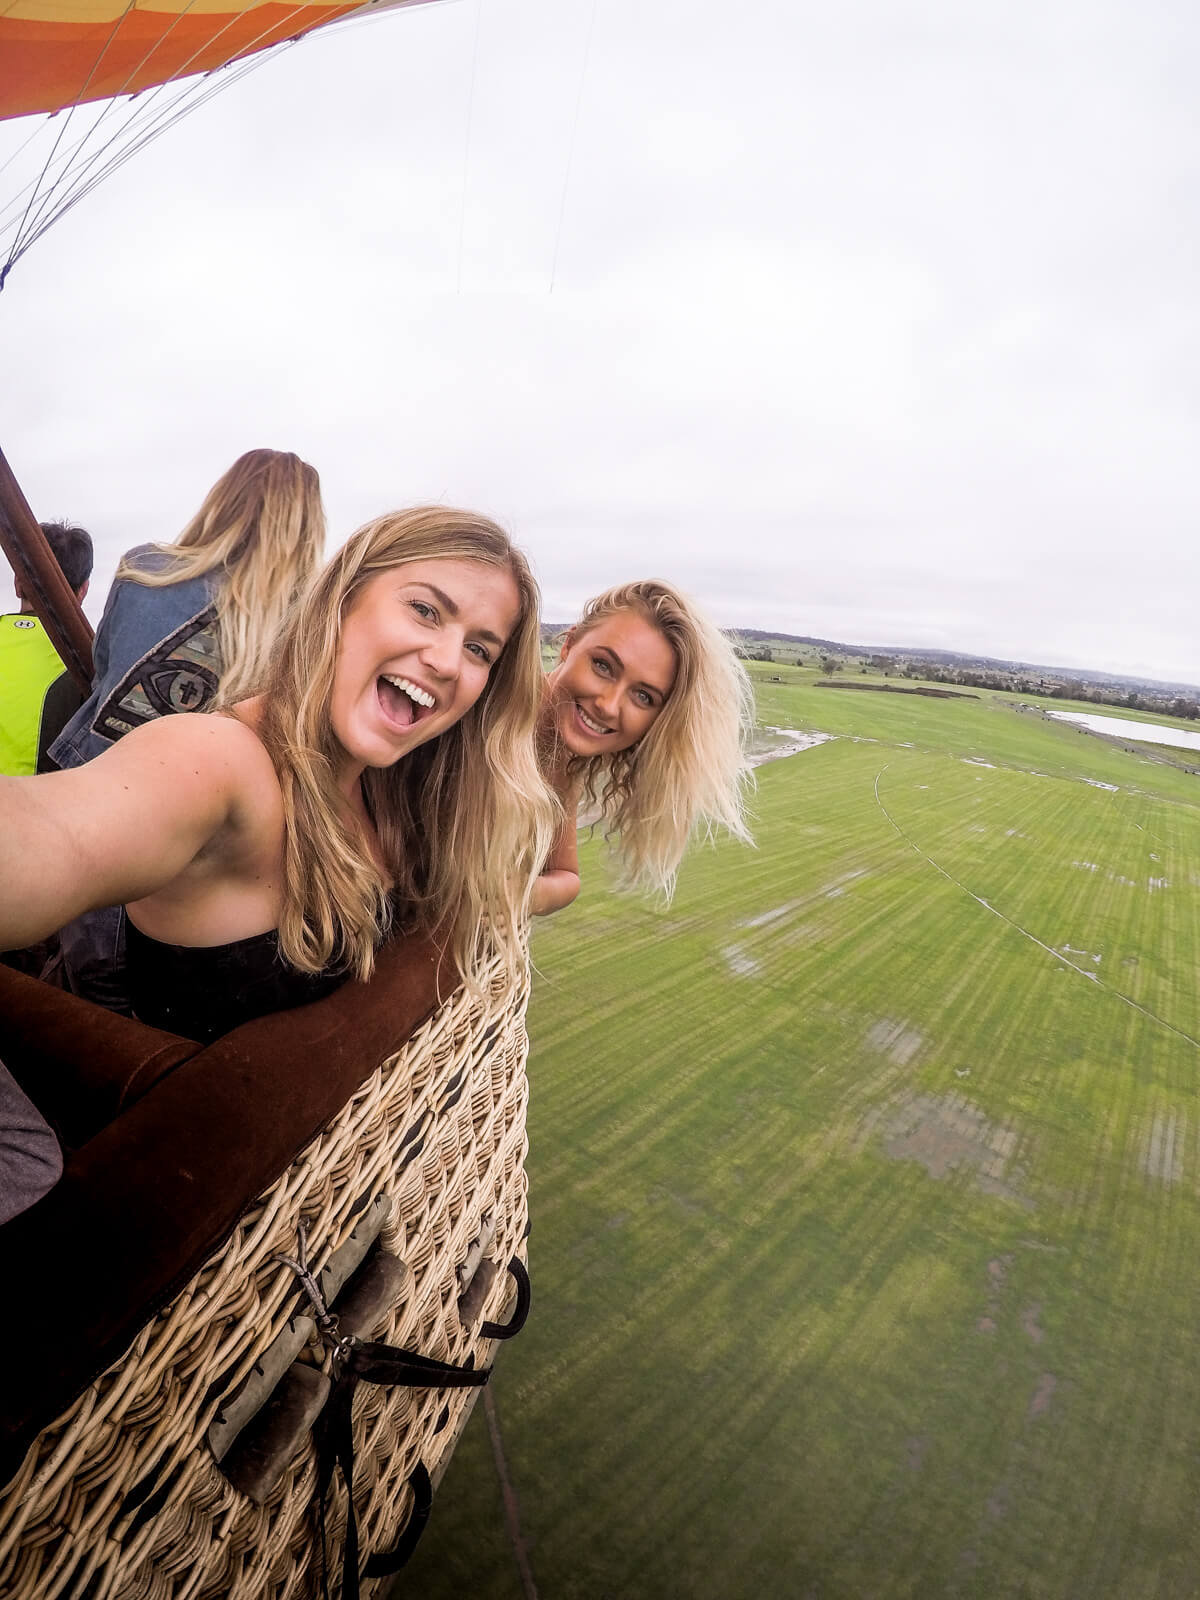
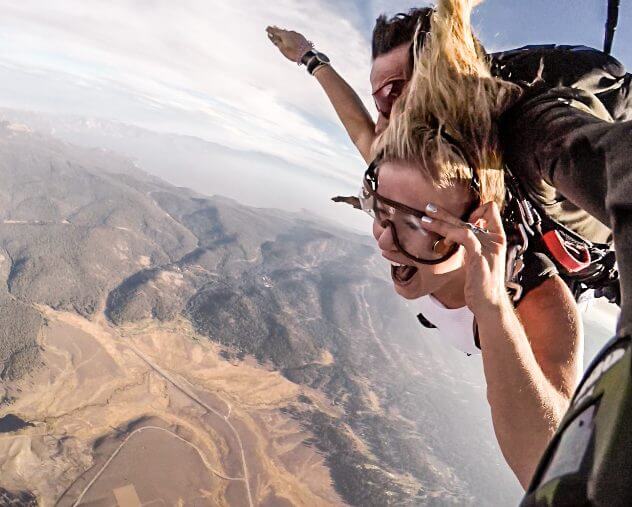
Ever since I began travelling, I have been using the GoPro camera to capture and document the majority of my adventures. I now have a million incredible experiences to look back on and a collection of videos I can watch whenever I fancy reliving my youth. It’s an awesome thing to have. See all my travel videos here.
If you’re considering getting a GoPro for travelling, I would highly, highly, highly recommend it.
Even though I now travel with a Canon and a drone too, my GoPro is still my favourite way to capture authentic and unposed moments when I’m on the road.
See all the cameras and electronics I take with me on the road here.
GoPro’s are small, they’re discreet, they’re easy to use, they’re no hassle to set up and all of the this means that you can capture breathtaking moments at total ease. You don’t need to know anything about cameras to reap the benefits of a GoPro.
Better still, the newest GoPros have optional advanced settings to accommodate for you camera enthusiasts out there.
So which GoPro do I use and which one should you get?
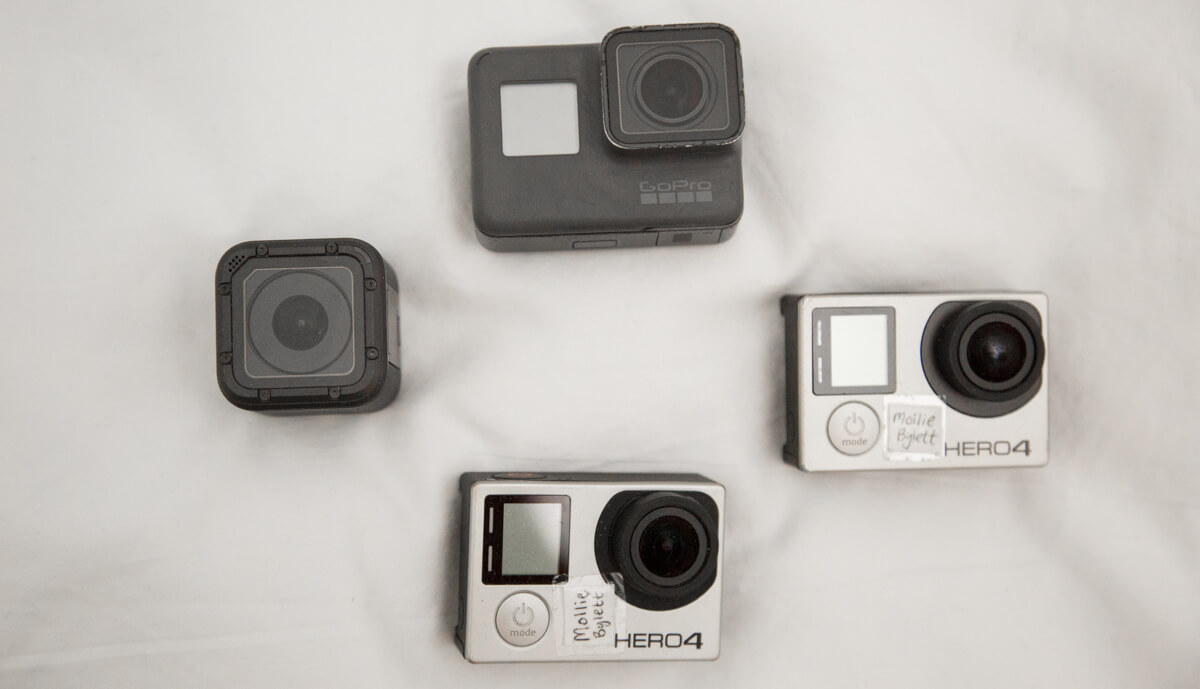
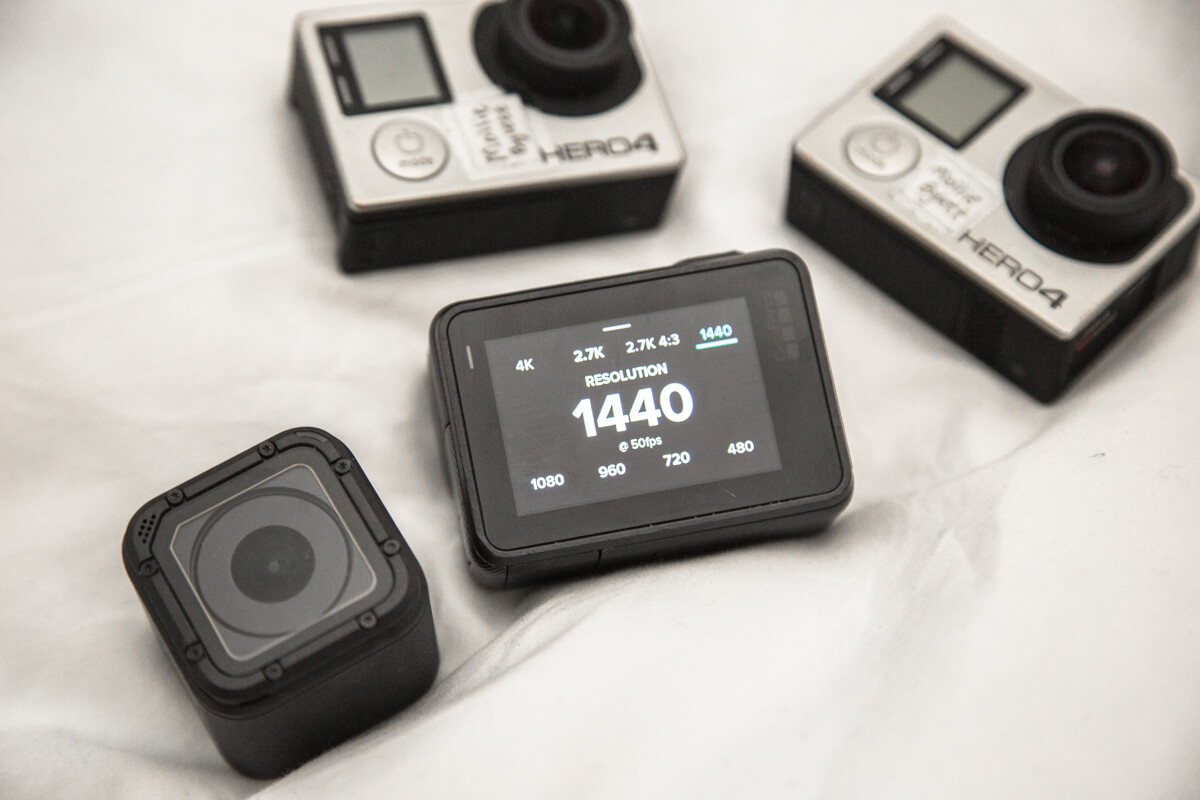
I have the Hero 5 Black, Hero 5 Session and the Hero 4 Silver in my travel collection, though obviously it is not necessary at all to have more than one. I carry additional cameras to use as backups and for additional points of view, but the average traveller only needs one.
GoPro Hero 5 Black
This is the newest baby in the family and, in my eyes, is the upgrade from the Hero 4 Silver (if you have the extra budget). The Hero 5 Black is the ultimate GoPro right now.
Favourite things: It doesn’t need waterproof housing as deep down as 30ft {incredible quality}. It has amazing sound, inbuilt stabilisation, and voice activation {more useful than you think}. It’s also got better battery life than the Hero 4 Silver and in fact, better battery life than ever!
Least favourite things: —–
Hero 4 Silver
If you have a little less budget, the Hero 4 Silver is still my favourite option after the Hero 5 Black.
Favourite things: It has an LCD screen.
Least favourite things: It needs waterproof housing for underwater shots, which reduces image quality and sound quality massively.
Hero 5 Session
This is as new as the Hero 5 Black but without the LCD screen. I actually used it for the first time a couple of weeks ago, having always avoided it because of the reduction in photo quality, but it still boasts incredible quality. This is definitely the underdog of the family.
Favourite things: It’s the most discreet and easy to carry of them all. There’s no faffing with frames: just point, shoot and enjoy the moment. It’s perfect for a total beginner and for someone wanting a simple to use camera with fantastic quality.
Least favourite things: You have to connect to the GoPro app to access and adjust all the settings.
Hero 4 Black
This tends to be my back up if batteries have run out. I personally don’t use it that much otherwise. It’s a legitimate camera made for the advanced user. The new GoPros have simply stepped up another level from this camera.
Favourite things: The battery life is really good compared to the Hero 4 Silver.
Least favourite things: It doesn’t have a screen.
I would also highly recommend getting a dual charger and getting one or two spare batteries.
Buy a dual charger and 1 spare battery here for the GoPro Hero 5 Black
Buy a dual charger and 1 spare battery here for your Hero
The new GoPros have an improved battery life, but for long adventures you’re still going to want some spares. Alternatively, get a battery pack so that you have some back up juice with you!
What are my go-to GoPro settings when I’m heading out on a daytime adventure?
VIDEO
- Resolution: 1440
- Frames per second: 80 {with slow motion} / 50 {without slow motion}
- Video Stabilisation: On {if I’m filming something active where the camera will be moving}
- Pro Tune On {leave this off if you have no idea how to use it} Find out how to use Protune here
PHOTO
- 12MP
- Wide
- Protune On {Colour – GoPro, White Balance – Auto, ISO Limit 400, Shutter – Auto, EV – 0, Sharpening Med/Low}
If you are a GoPro beginner and just want to use footage for social shares and personal viewing then:
- Video – 1080p, protune off.
- Photo – 12MP, Wide, Protune Off.
My favourite GoPro attachments when I’m travelling:
-
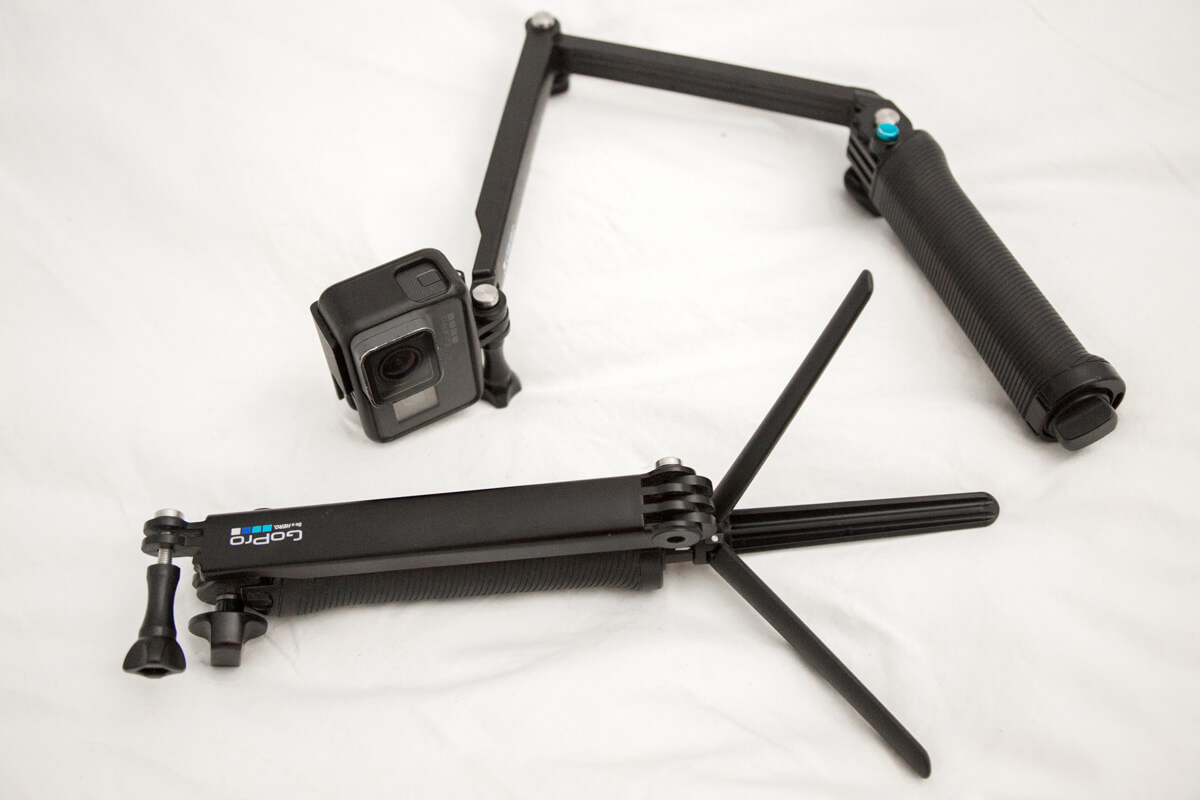
The three way
This is my number one accessory. If I’m travelling light and can only bring one or two accessories with me, this is DEFINITELY one of them.
You can use it as a selfie stick and adjust the screws to create your desired shape and length. Plus, the bottom part twists out to create a tripod.
It’s such great value for money.
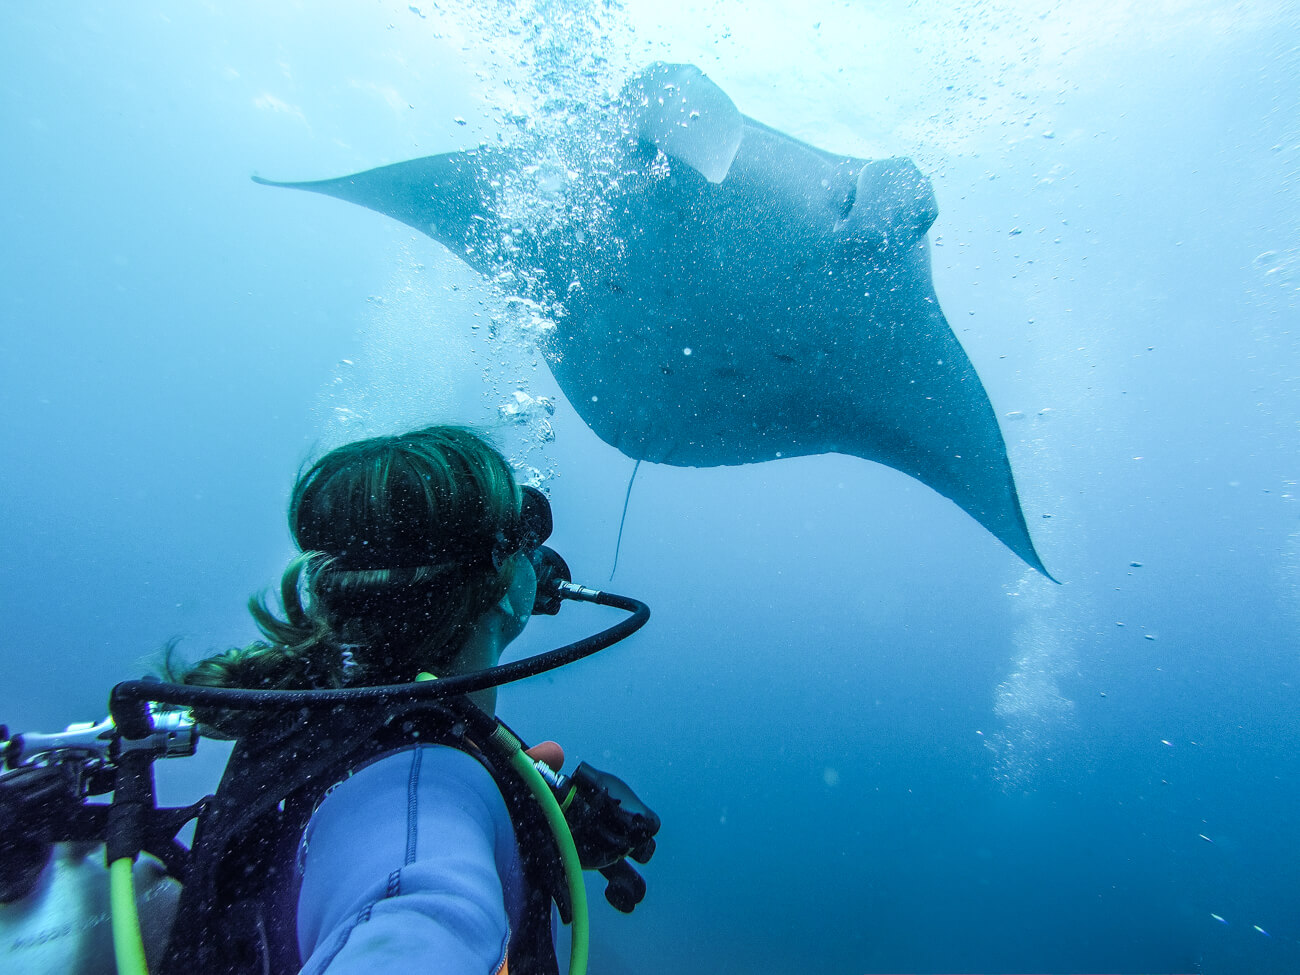
Times I’d use this mount: For most selfies, for solo travel shots {tripod time lapse}
Example shot:
-
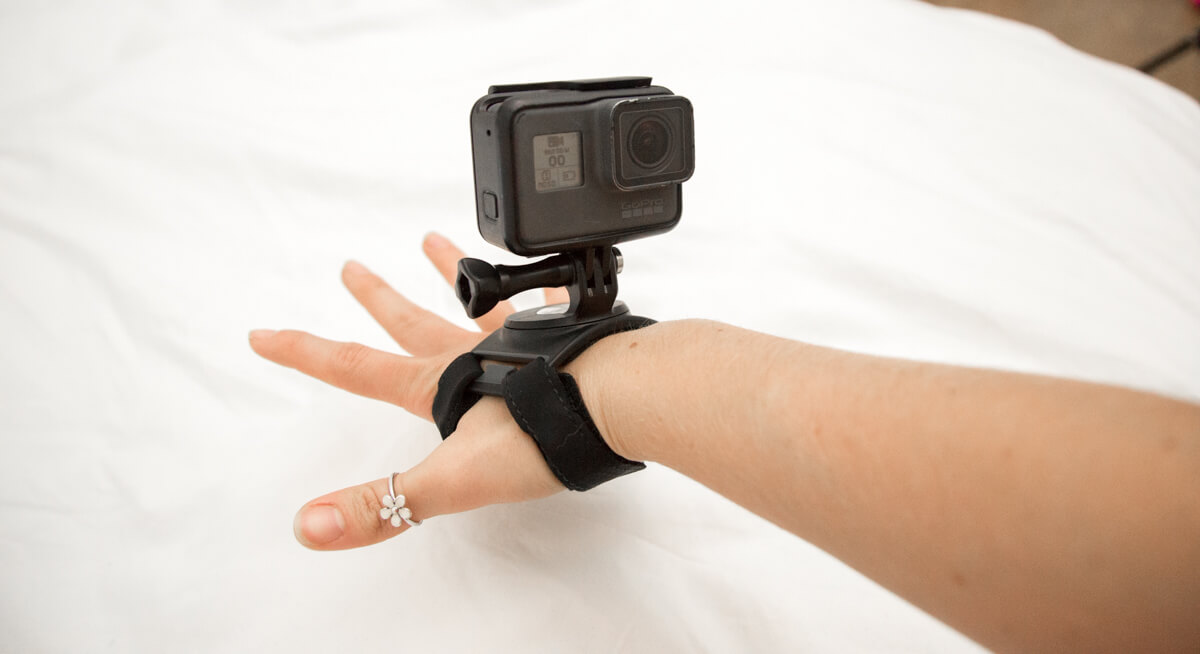
The wrist mount
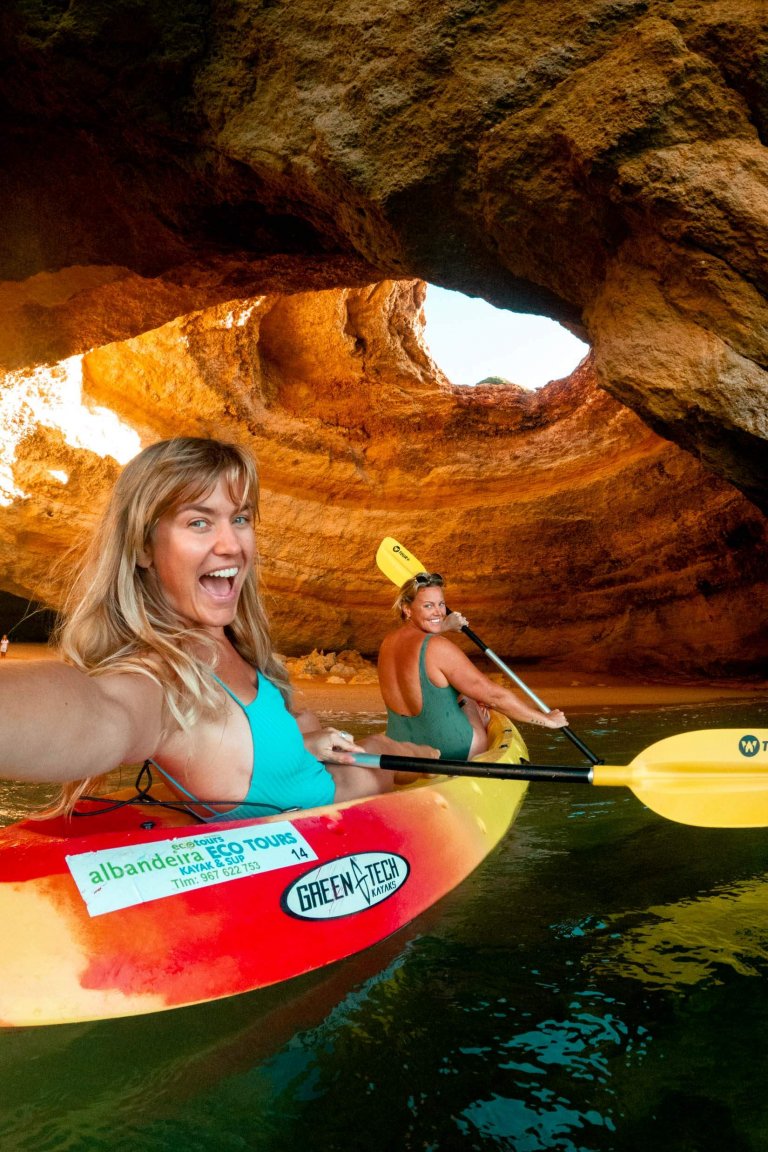
This mount is great for active adventures where you need your hands free but would still like to capture yourself in the shot.
Times I’d use this mount: When kayaking / bungee jumping.
Example shot:
-
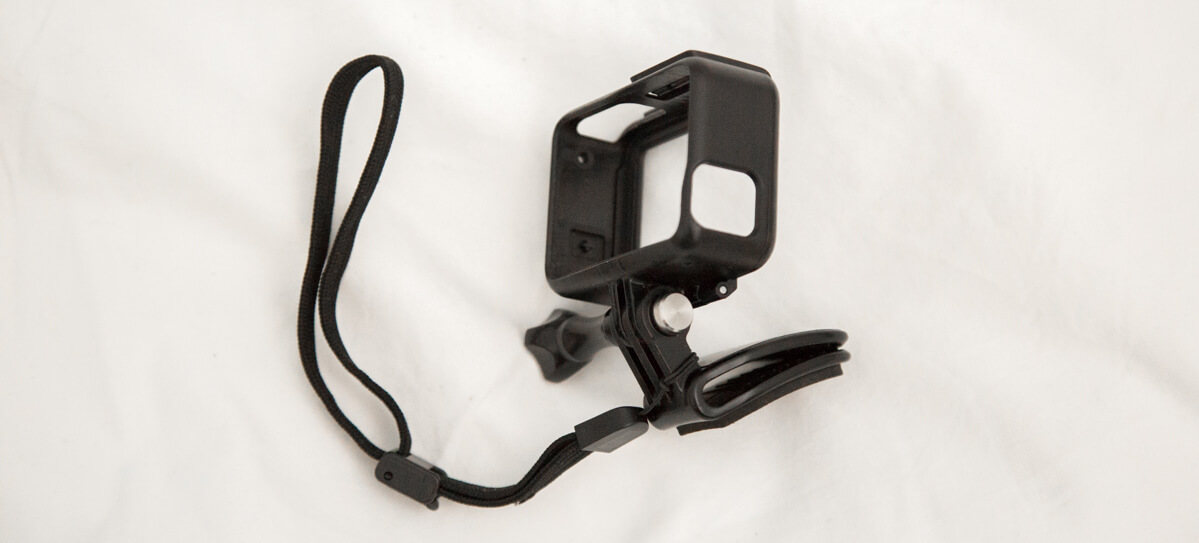
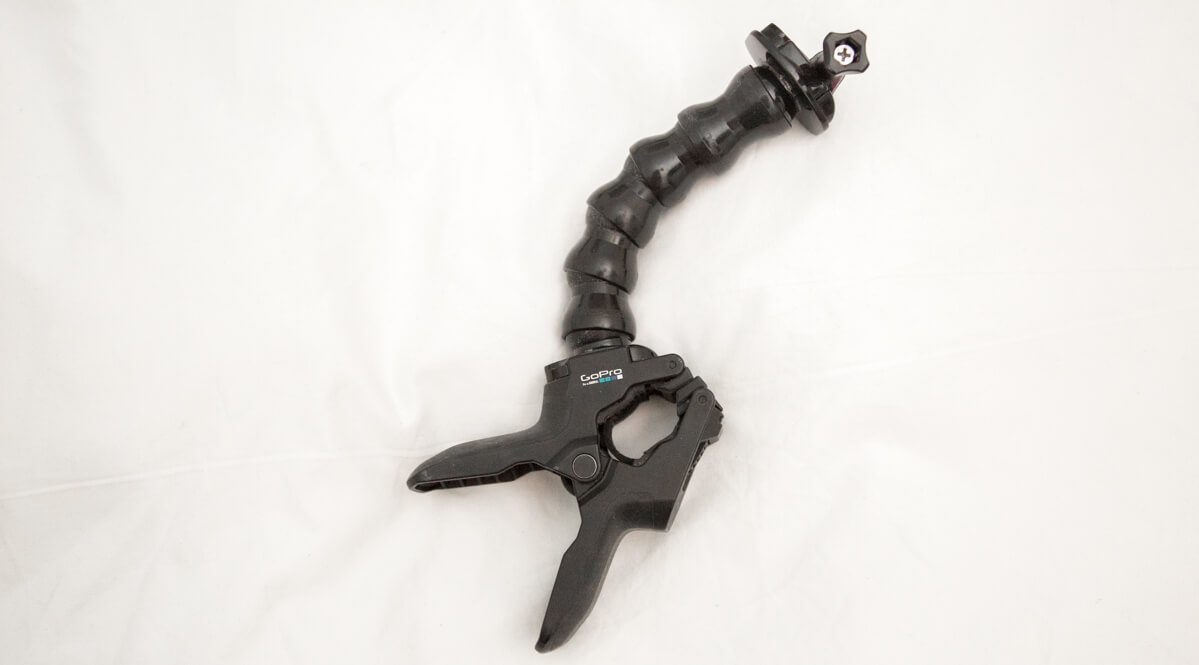
The unofficial mouth mount
As well as the three way, this is ALWAYS with me. It’s not officially a mouth mount but you can bite down on the little clamp thing {on the right of the picture} and use it to get some amazing point of view shots.
The little wrist secure means you can have it hanging on your wrist or loop it in you jacket for easy access
Times i’d use this mount: When i’m at a festival and I want my camera accessible at all times but my hands still free. When holding a mount isn’t an option but I want to capture the view!
-
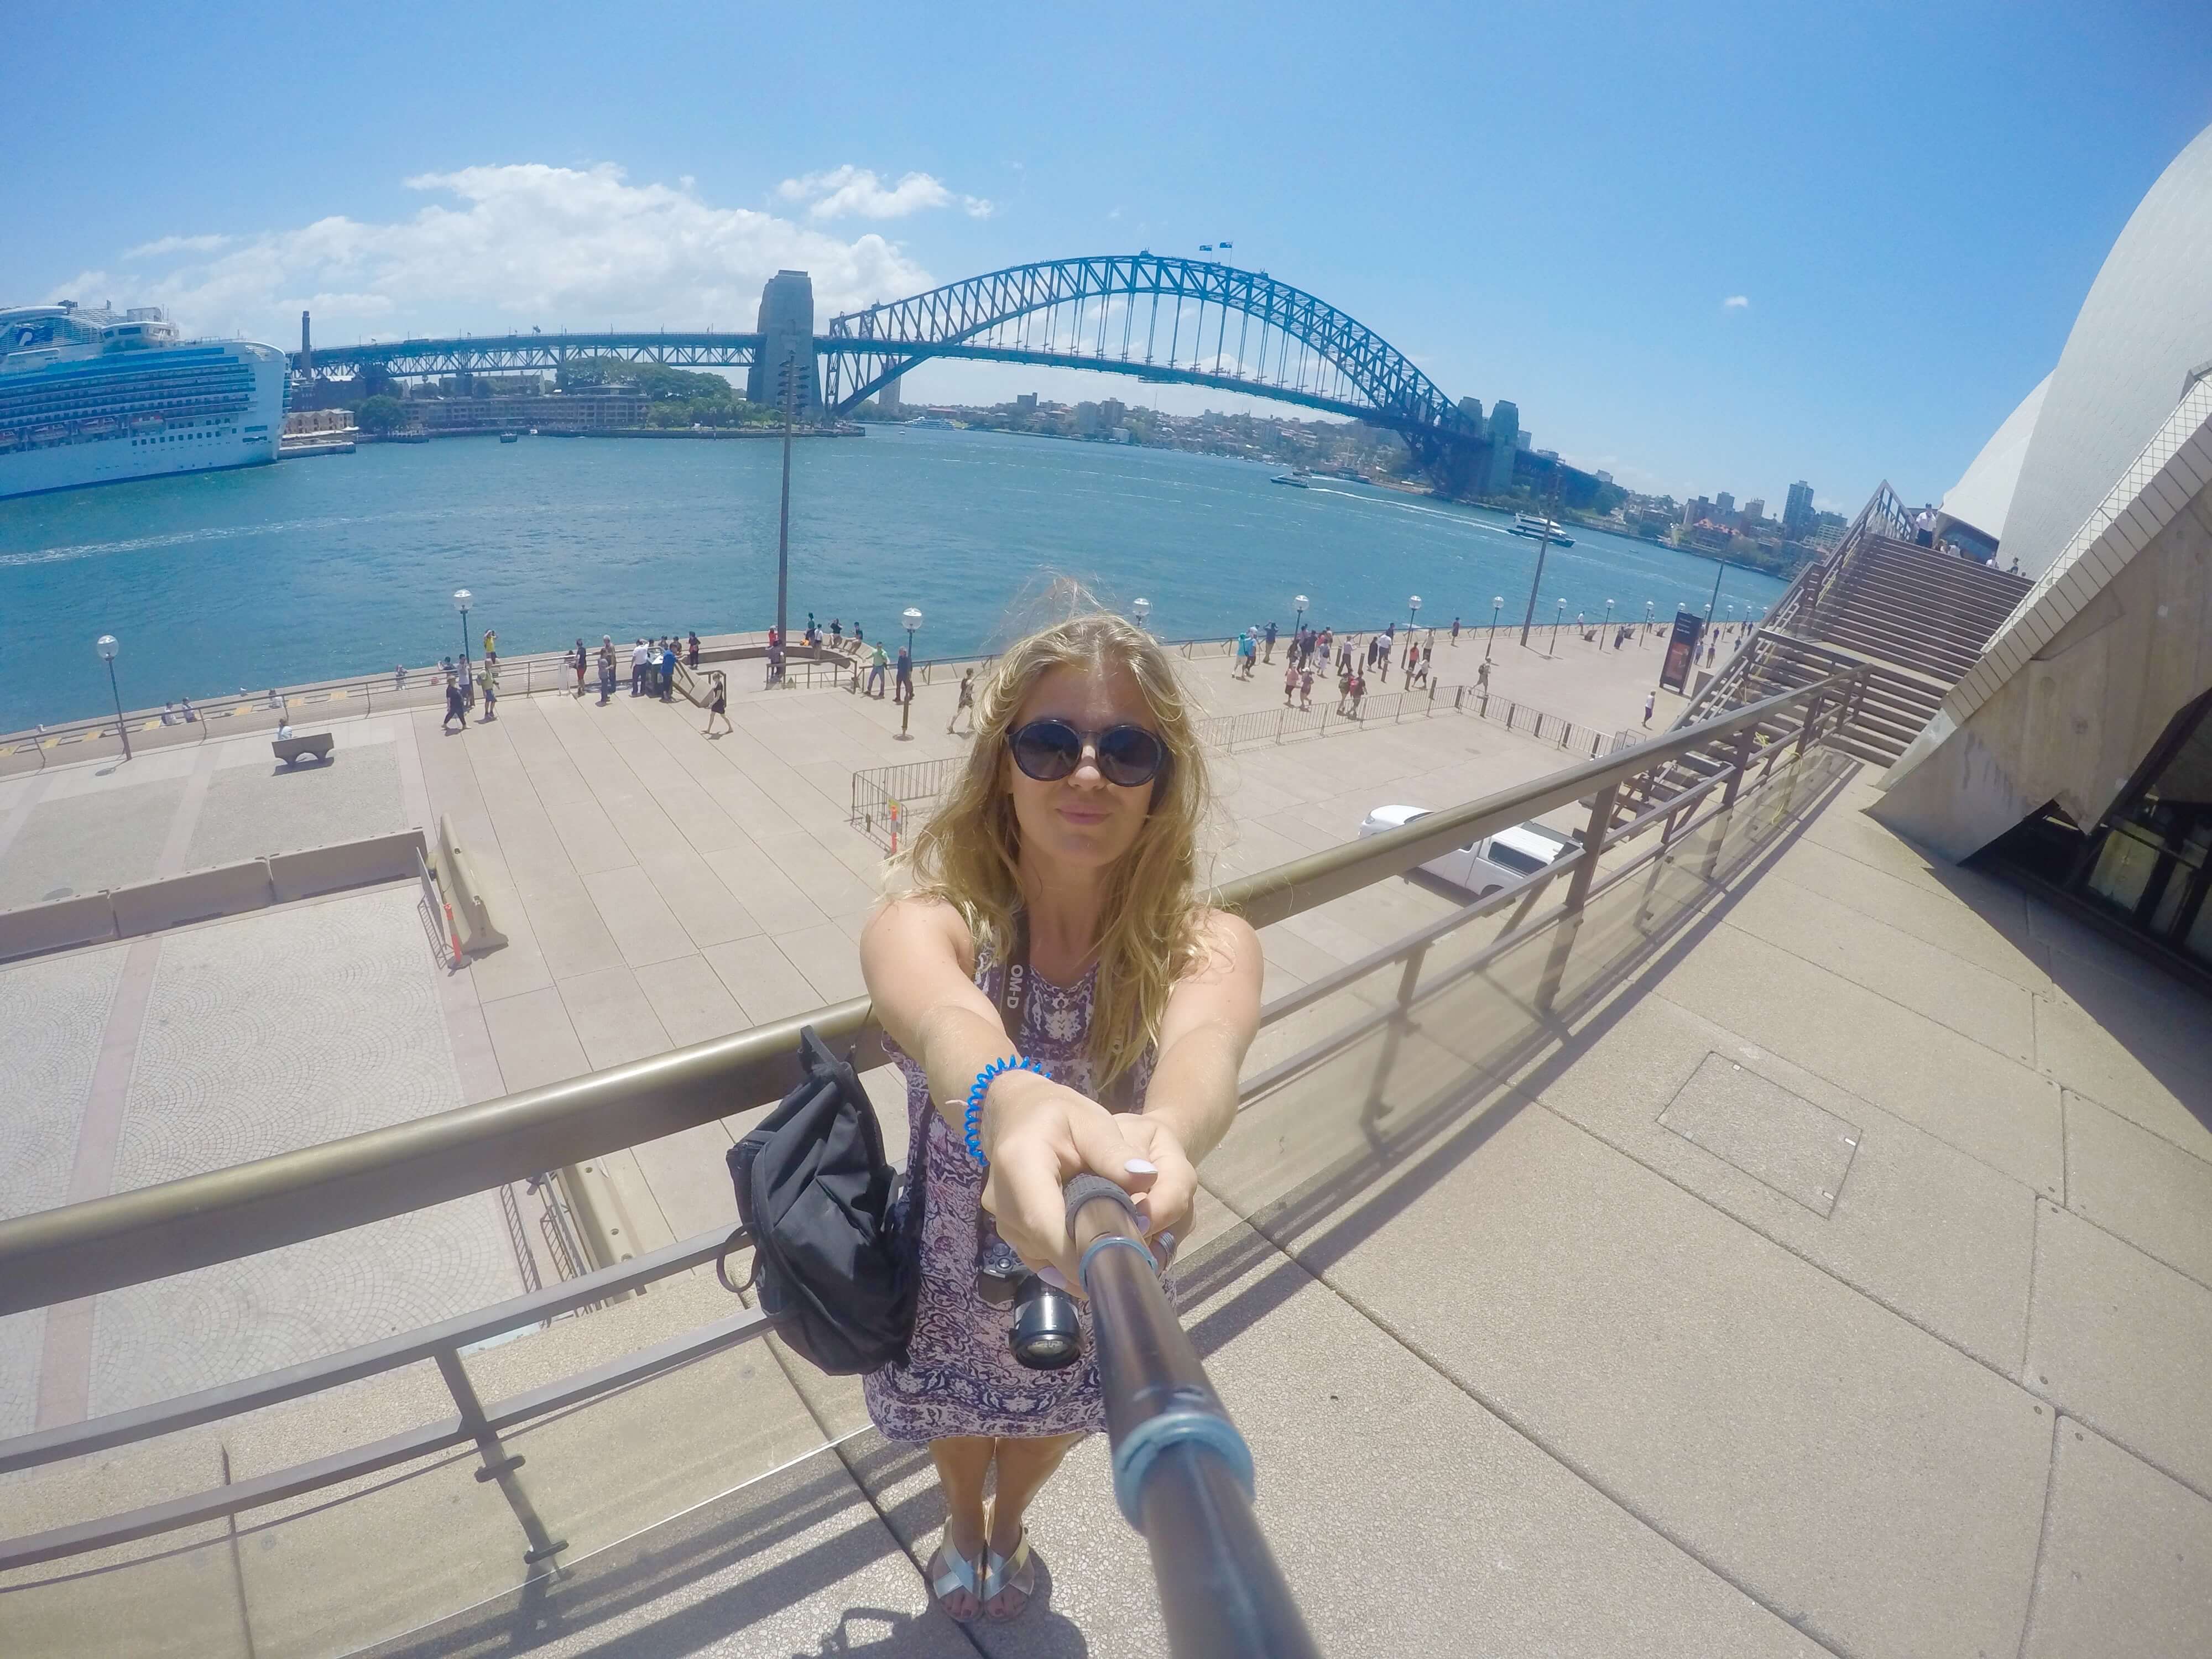
Selfie stick
This isn’t an official GoPro accessory but it’s one I’ve used since the very beginning. It has such a long extension which means you can capture SO much of the scene in your shots.
Example shot:
-
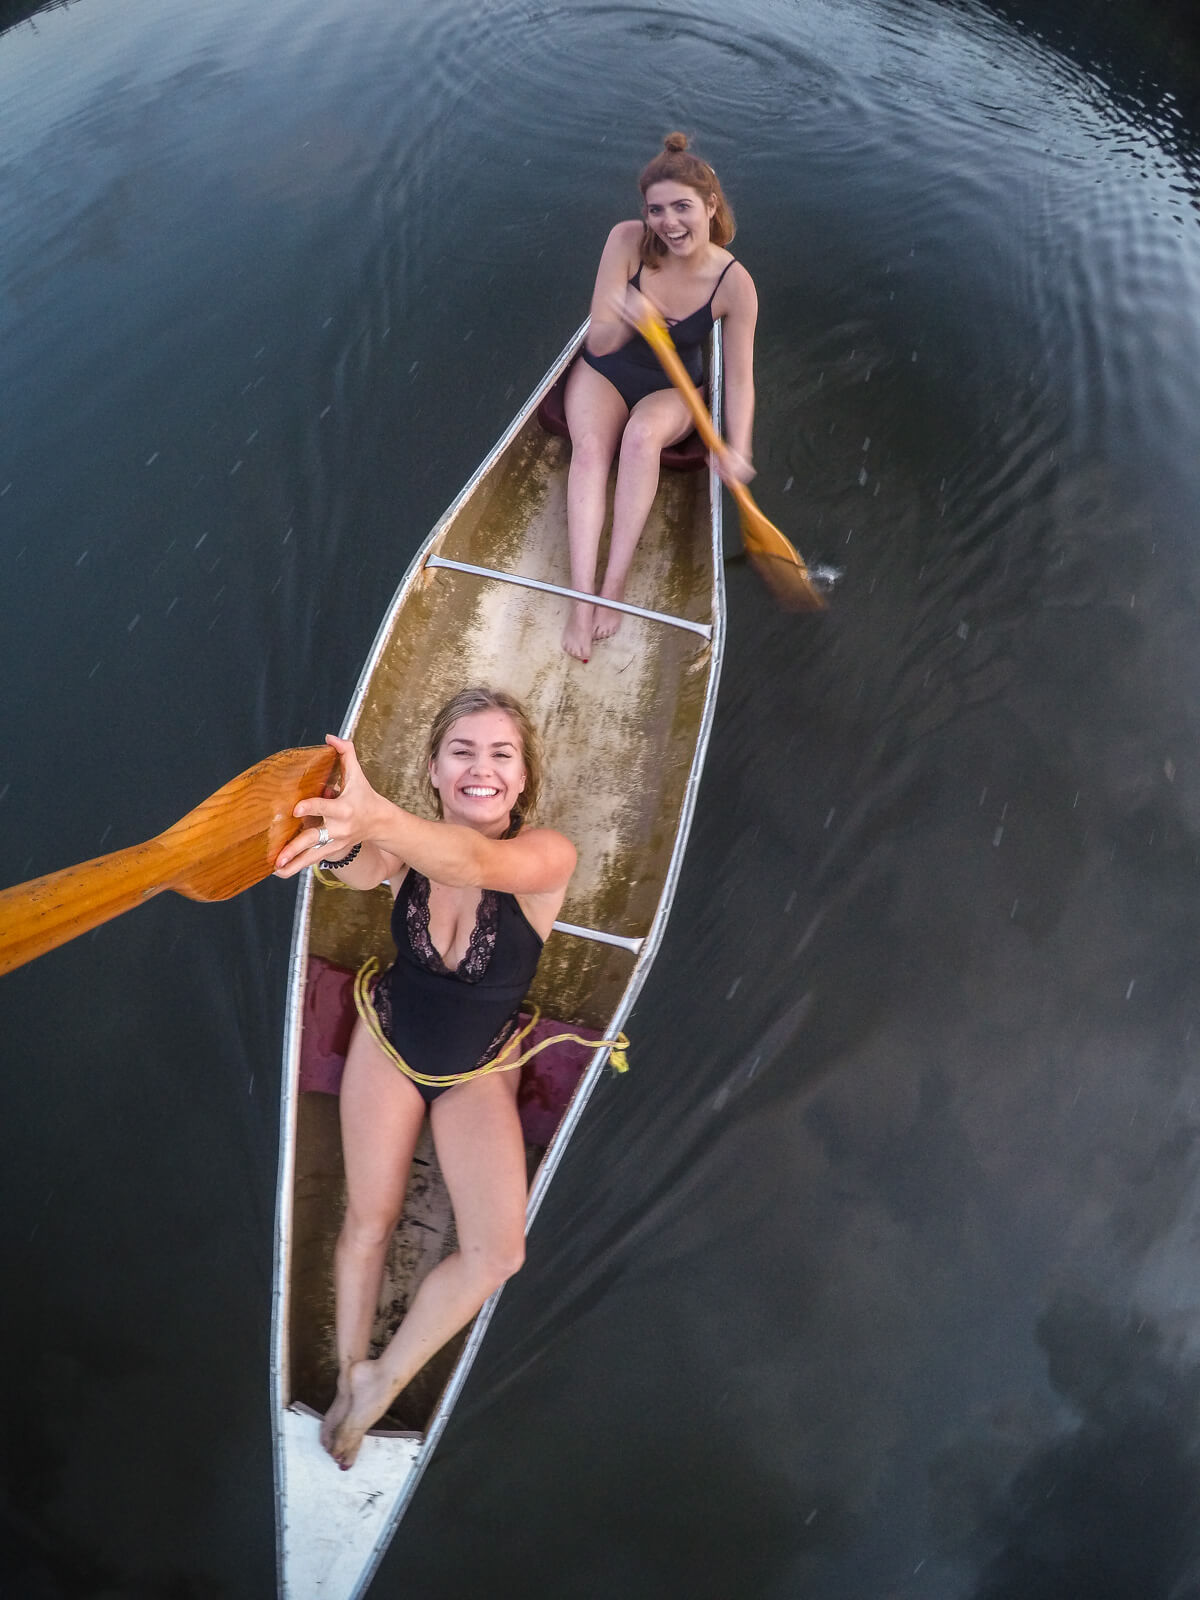
The flexible jaw mount
This mount can get you the most unique shots due to its ability to clamp on a diverse number of buildings and objects.
Times I’d use this mount: Canoe oars, boat railings, literally anything!
SHOP THE FLEXIBLE JAW MOUNT HERE
Example shot:
Where should you edit your content?
Videos
- iMovie
I began my ‘editing career’ on iMovie and would recommend it to any beginner or editor who is simply looking to trim their videos and add in titles and music.
- Final Cut
Final Cut steps up the editing game and options from iMovie.
- Adobe Premiere
The god of all editing programs and the one the professionals use. I have just switched over and am slowly but surely getting to know my way around. There are a LOT of functions on premiere and I was definitely lost for a while on it. Unless you are taking editing seriously I would start with iMovie and see how you get on.
Your choice will totally depend on what computer you have {what’s already installed} and your budget {you have to pay for Final Cut and Premiere}.
BEGINNERS / TRAVELLERS EDITING ON PHONES…
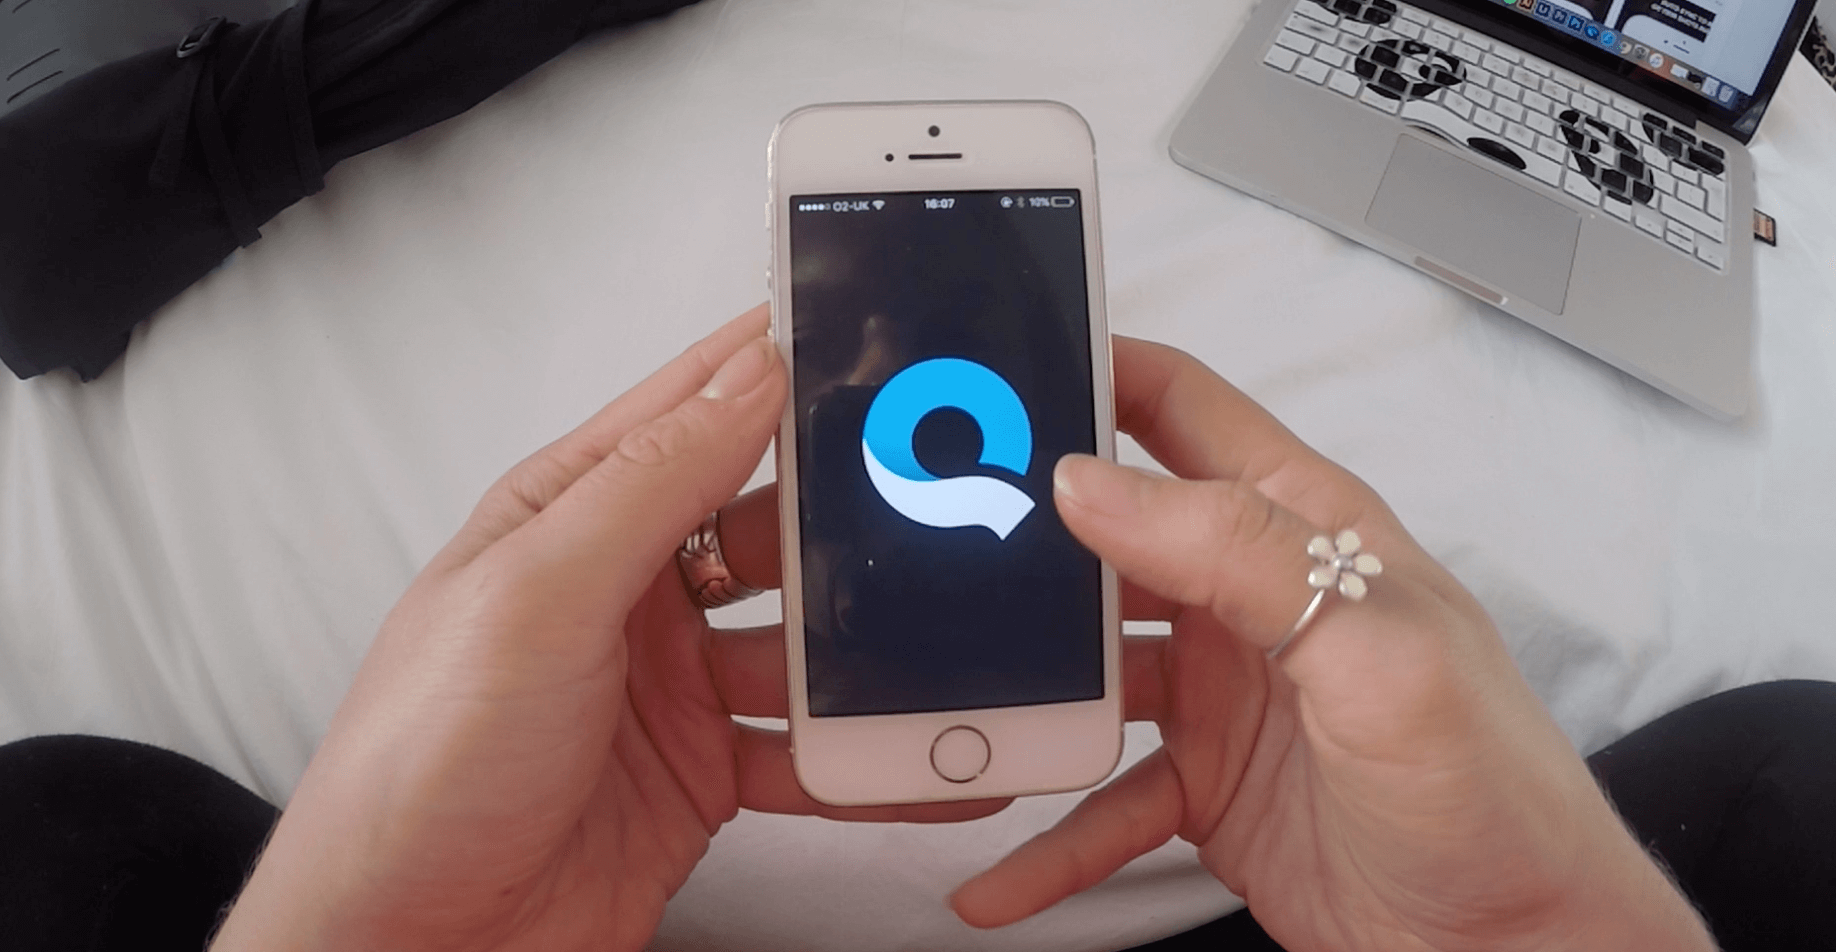
Should you be a total beginner, not be taking your laptop away with you or simply not be one to sit for hours and hours editing, then try the iMovie or Quik App on your phones. {Quik is GoPros amazingly simple editing app}.
Both allow you to create professional looking edits on the go.
Photos
Adobe Lightroom all the way!
You can Photoshop for advanced touch ups, but again it’s a minefield to just ‘turn up’ on. Even I don’t use Photoshop yet.
I hope this has helped you with getting / using a GoPro For travelling!
SHOP ALL GOPROS AND ACCESSORIES HERE
Browse the best price hostels and properties to stay in on HostelWorld here
Have you got a GoPro for travelling?
Do you have any tips? I’d love to know! ?
Thank YOU guys for reading <3
Mollie x
If you enjoyed this post, please SHARE it for me!
I can’t do this without you <3
Ever wondered what cameras I use on my travels? What websites I use to book my adventures? What essentials I always take with me?
SHOP MY TRAVEL ITEMS, RECOMMENDATIONS AND DISCOUNT CODES HERE
Oh and you can SIGN UP FOR MY EXCLUSIVE MAILING LIST HERE

