How to plan for the Tongariro Alpine Crossing, New Zealand
Classed as one of the best day hikes in the world, and most certainly the best in New Zealand, the Tongariro Alpine Crossing is a must do if you are reasonably active and want to see some of the best landscapes that New Zealand has to offer. This post is a complete guide to the Tongariro Alpine Crossing which will fully prepare you for this once in a lifetime hike!
Haven’t heard of the Tongariro Crossing? For my Tongariro photo diary, check out this post.
Stretching over 19.6km, with the option to add in a 3.5-hour extension to the summit of Mount Doom and back or a 3-hour extension to Mount Tongariro and back, the Tongariro Crossing is definitely not something to be taken lightly or something to do if you don’t like walking (there’s a lot of that).
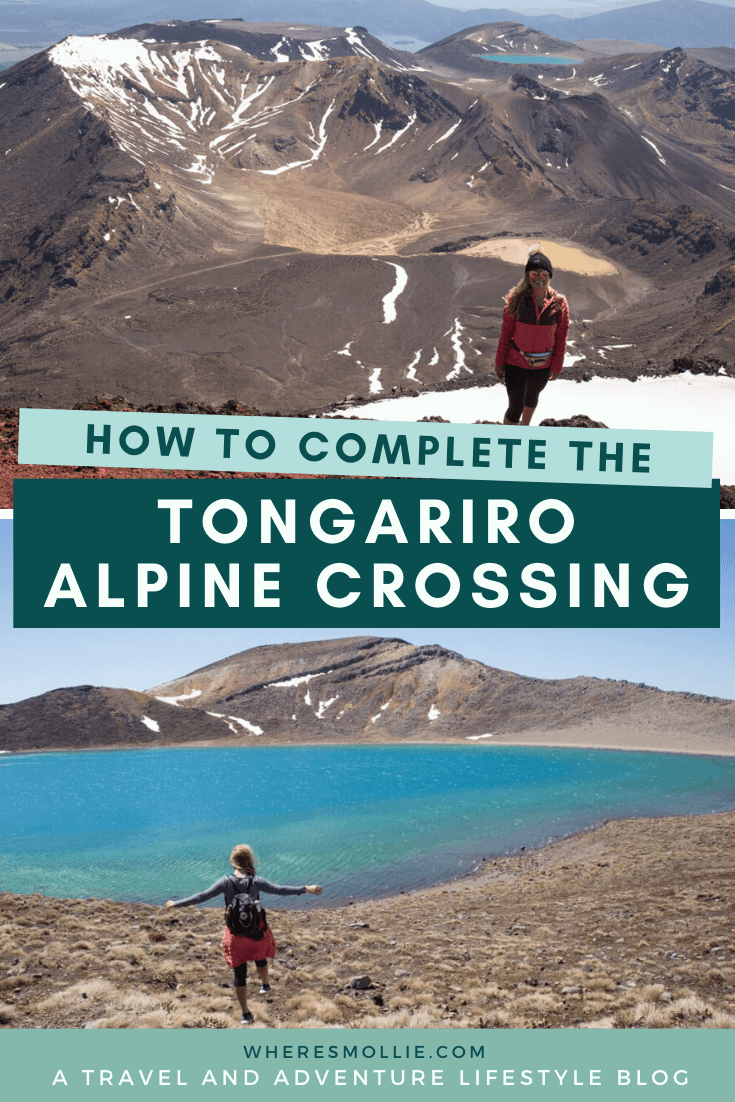
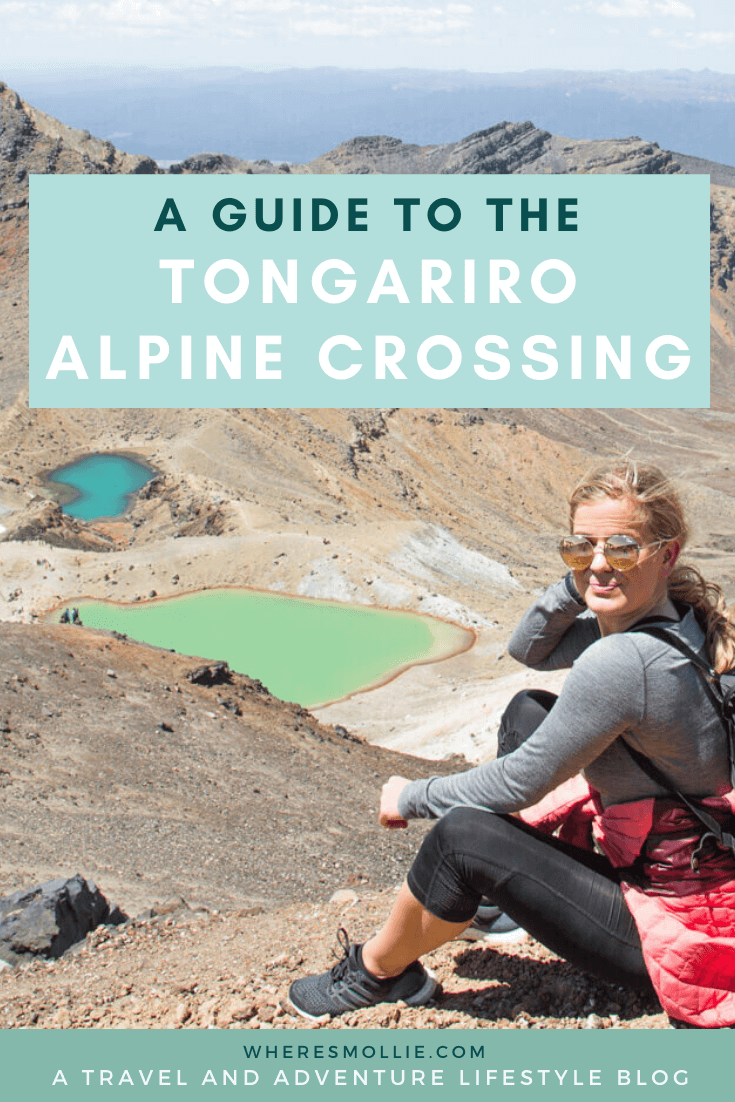
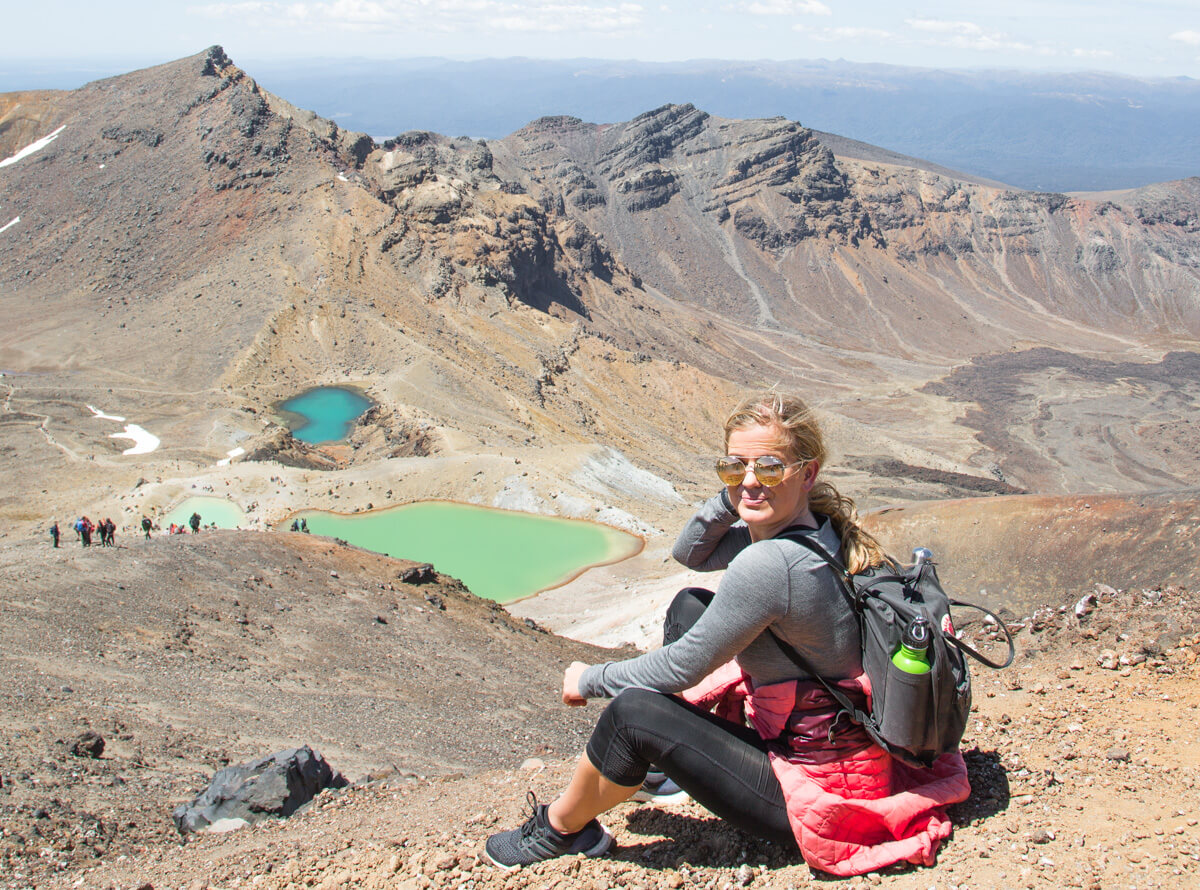
Upon the Tongariro Alpine Crossing you’ll see Mt. Ngaharuru (also known as Mt. Doom for all you LOTR fans out there). You’ll witness the emerald lakes, the blue lake, the red crater and the soda springs. There are places to relax, there are places to enjoy your picnic by the lake and there are plenty of places to rest up so you can take the track at your own pace.
It is honestly the walk that keeps on giving, with natural wonders left, right and centre to fully distract your mind from the hefty walk you are actually enduring.
What are you waiting for? Add it to your bucket list right now, and keep reading my guide to the Tongariro Crossing to plan your adventure!
Here’s my guide to completing the Tongariro Alpine Crossing…
Weather: the uncontrollable dictator
Deciding to take on the Tongariro Crossing challenge is one thing. Due to the extremity and exposure endured throughout the walk, this activity (or the safety of it) is very weather-dependent. You can check the safety and forecast here.
This can be frustrating if you are on a tight time-schedule, as it may mean waiting around for the weather to clear. But, having completed it, I would say:
- It is SO worth the wait
- It is not worth risking doing it in bad weather. The Tongariro Crossing was challenging on what was considered a ‘perfect’ day for it (when I did it). Push your schedule back and let the weather clear for your hike.
Note: I visited in spring (November 2016) and had to wait 4 days for appropriate hiking weather. The summer months (Dec – Feb) are recommended for the hike, and in winter months it is highly recommended to hike with an experienced guide.
Do you need a guide for the Tongariro Alpine Crossing?
The crossing is open to the public so you can drive there and attempt it all by yourself. But, like I said, make sure you check the conditions before you head down. The route is very well sign-posted, giving guides to time frames, distances and directions. It’s an extremely popular route so chances are you’ll be sharing the track with many other wanderers.
Note: In the winter months the weather is even more extreme, so do not attempt the crossing unless you are an experience mountaineer.
Do you need to book the Tongariro Alpine Crossing?
To head out on the crossing – no. It’s a National Park so you don’t need to pay to enter.
If you’re travelling on Kiwi Experience through NZ like I was, then this is an activity on the route and the driver will hand a clipboard around, on which you can put your name down for participation. Check out my guide to the Kiwi Experience here.
We booked through Tongariro Expeditions for $55, which included being picked up from our accommodation and being dropped off after the hike (it’s about 1 hour and 20 minutes from Taupo centre to the Tongariro crossing entrance). Also, they’ll give you a map with a time guide for the route. Check out my backpacker’s guide to Taupo here.
If you drive yourself, you can drive to the end and book a one way shuttle to the start of the track. That way you can have your car at the finish ready for your arrival.
What do you need for the Tongariro Crossing?
To wear:
(based on the November climb that I did)
- Walking boots
I wore my Adidas boosts as I couldn’t justify the room in my luggage for walking boots that I would use once or twice in the 4 months I was away. I would definitely recommend walking boots. It would definitely allow you to walk more quickly, more safely, with more support. This is ESSENTIAL for climbing Mount Doom (the additional challenge on the crossing).
You can hire walking equipment/boots for the day from the National Park Village.
- Walking socks
Socks that are both comfortable and allow your feet to breathe!
- Thermal leggings/walking trousers
The altitude will vary throughout the hike and consequently, so will your body temperature. If you have any weather technology leggings, they are perfect. Saying that, I simply wore workout bottoms and I managed just fine. The only time I wished I’d had anything more was at the top of Mount Doom (waterproofs would have been nice for the snowy areas when I fell on my bum) and descending Mt. Doom (full length bottoms would have been nice to avoid scratches from the loose rocks).
- A strappy top/vest
A thin, bottom layer to strip down to, if you get super hot.
- A long sleeved top
I had my amazing merino wool base-layer, which doesn’t look much but keeps you SO cosy. It’s also breathable for the slightly warmer conditions, meaning it adapts and you don’t have to keep adding/removing layers.
- A waterproof thermal coat
It’s better to be taking off layers rather than wishing you had more to put on. If you’ve ever been to NZ, you’ll know about their crazy weather changes. So, during an 8-hour hike you are bound to experience different ends of the weather spectrum. Always be prepared for a change in weather and therefore, if you can, make room for:
- A hat
- Gloves
- Walking poles (loads of people had them and they are particularly great for assisting body aches/pains. They would have been so appreciated on the Mt Doom hike.)
To take in your backpack:
- Tissues for using the toilets
- Lipbalm with SPF in
- Plenty of water as you can’t fill up along the track (safely)
- Packed lunch (you can’t purchase anything on the track)
- Sugar sources (to top up energy levels as it’s rather demanding exercise)
- Sun cream (you are heavily exposed time wise and ozone layer wise!)
- Sunglasses
Top tips for the Tongariro Alpine Crossing:
- Wear a high factor SPF, honestly. The wind can be very deceiving and even on a cloudy day you can get severely burnt. Make sure you don’t miss out any spots or you’ll end up with some really cool burn lines…

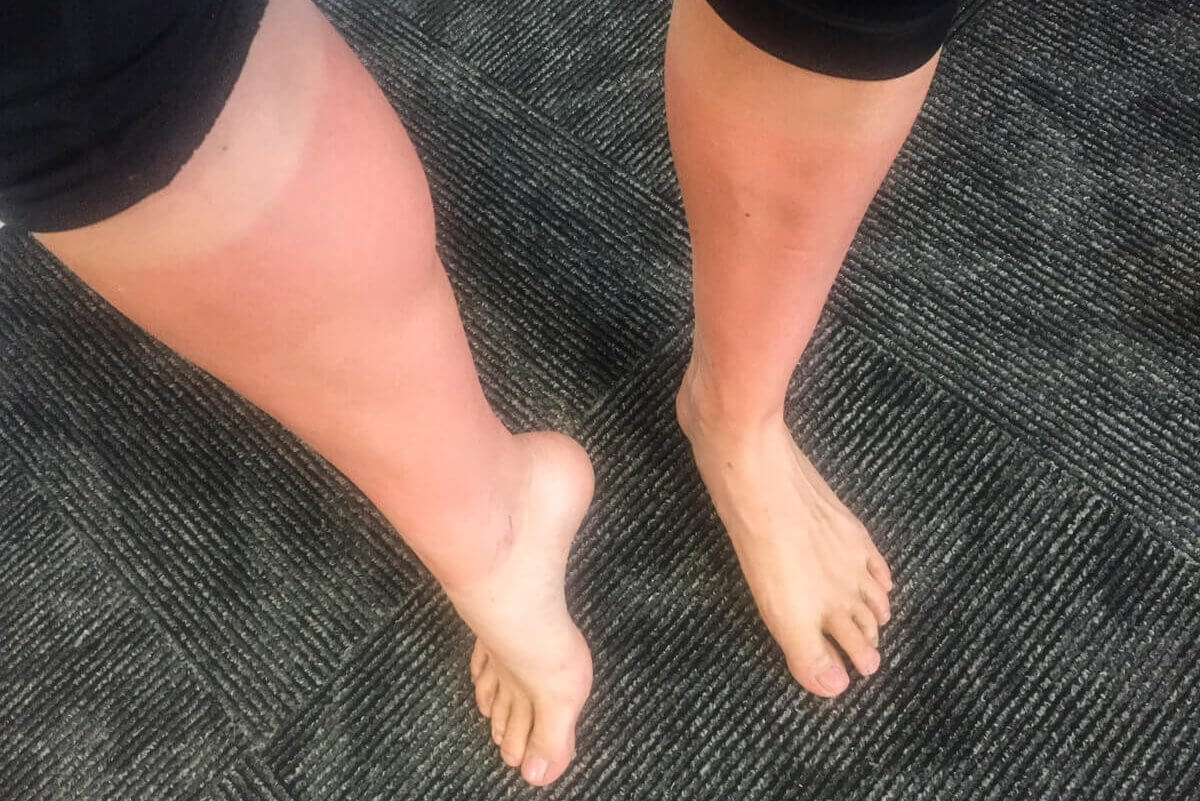
- The Tongariro Alpine Crossing is situated in a National Park and the mountains are considered sacred. So, no excuses: leave no trace. anything you take with you must return with you: rubbish, bottles, and yourself, obviously.
- There are toilets at the start: 20 minutes in and 1 hour in. You will then not cross another bathroom until 4 hours later on the descent to the finish line.
- If you book through Tongariro Expeditions they have two shuttle buses that leave to go back to Taupo at 2.30 and 4.30. Luckily our bus was 20mins late arriving in the morning and so they added that time on and we made the bus at 4.48 with two minutes to go. We did the additional 3 hour hike up Mount Doom which left us pushed for time. If you miss the bus, they will not wait and you will have to find your own way back!
- If I were to do it again, I would drive myself so that I could enjoy the lakes more and relax without the pressure of getting back to the bus. Or, I’d skip the Mt. Doom ascent to do so.
- Unless you are super fit and don’t suffer from vertigo, don’t attempt Mt. Doom. It is a technically challenging ‘track’, that often has no track, and leaves you crawling up the scree and rocks. It’s dangerous and you must go equipped with the right gear.
EXPLORE NEW ZEALAND ON MY BLOG HERE
Have you completed the Tongariro Alpine Crossing?
What are your top tips? I’d love to know!
Love as always and happy adventuring,
Mollie.
Did you find this post helpful? I’d love you to share it for me.
I can’t do this without you.
Pin and save this blog post for later…
